

Understanding multi-exposure photography: key terms explained, in-camera techniques, what to shoot and more
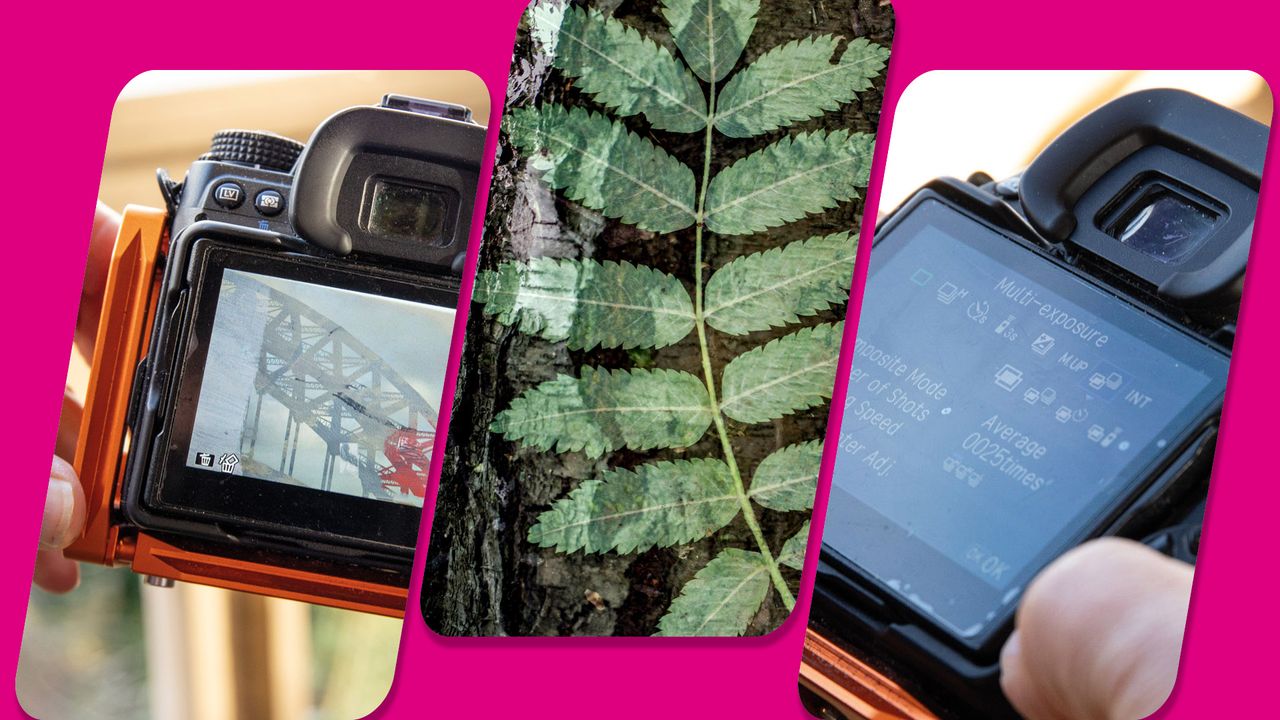
Multiple exposure photography is nothing new; it has been a staple of creative imagery since the earliest days of analog photography. However, in the digital age, it has never been easier to blend images together for creative, abstract effects. This can be done in a range of ways, from in-camera techniques using dedicated multiple exposure modes to post-processing methods using layer blend modes and complex masking.
Possibly due to the convenience of in-camera approaches, both on high-end mirrorless cameras and using smartphone apps, there has been a spike in interest in this area of photography over the past five or six years.
When leading photography workshops in urban areas, for example, I have noticed far more students of all ages who are keen to explore textures and color through the medium of stacked exposures rather than capturing literal records of famous landmarks.
Admittedly, I never used to be a huge fan of this type of imaging. It’s not that I disliked double- or multi-exposure images; I simply never found much motivation to try all of the in-camera features on offer. However, I’m also an enthusiastic painter, and quickly discovered that creatively pairing different scenes could give beautifully painterly impressions of subjects that could never be featured together in any single frame.
When shooting a city or any famous location, blending shots in-camera or at the computer can capture a collage-style image that pulls together the most interesting elements of the place in unique ways. This impressionistic approach is ideal when you find yourself unable to pick out one or two elements that truly encapsulate how a location makes you feel.
The danger in these cases is that you attempt to cram in too many details by using a wide lens, which simply turns out as a busy-looking shot without any proper focus.
A double- or multi-exposure shot is intentionally abstract and minimizes negative space, allowing the viewer to focus on several areas of the scene at the same time. It also has the power to make a subject out in what might otherwise be an unassuming element. Let’s take a closer look at how to use the technique to create shots that pop in your portfolio.
Multi-exposure modes explained
Using layer blend modes has become a staple tool in the photo-editing process, and many photographers have become accustomed to how each one functions with the layers below the working layer in the layers panel, in Photoshop, Affinity, or similar. Learning to create blended images in-camera can therefore take a bit of acclimatization.
Many cameras today have a range of modes listed in their respective Multiple Exposure menu. Older models, especially older DSLR cameras, might only have a single Off/On option, but the latest mirrorless models, such as the Fujifilm X-T5, Canon EOS R6 Mark III, or Nikon Z5 II, all have sophisticated systems.
The common modes across all of these brands are Additive, Average, Lighten, and Darken, although the exact terminology does vary. Additive pretty much does what it sounds like – the pixels from one frame are added to the subsequent ones.
This has the effect of summing together the exposure of each frame, which can lead to overexposure if you’re not careful. Where two already bright areas of each frame overlap, for example, the resulting blended image can suffer from highlight clipping where there was none in the individual files.
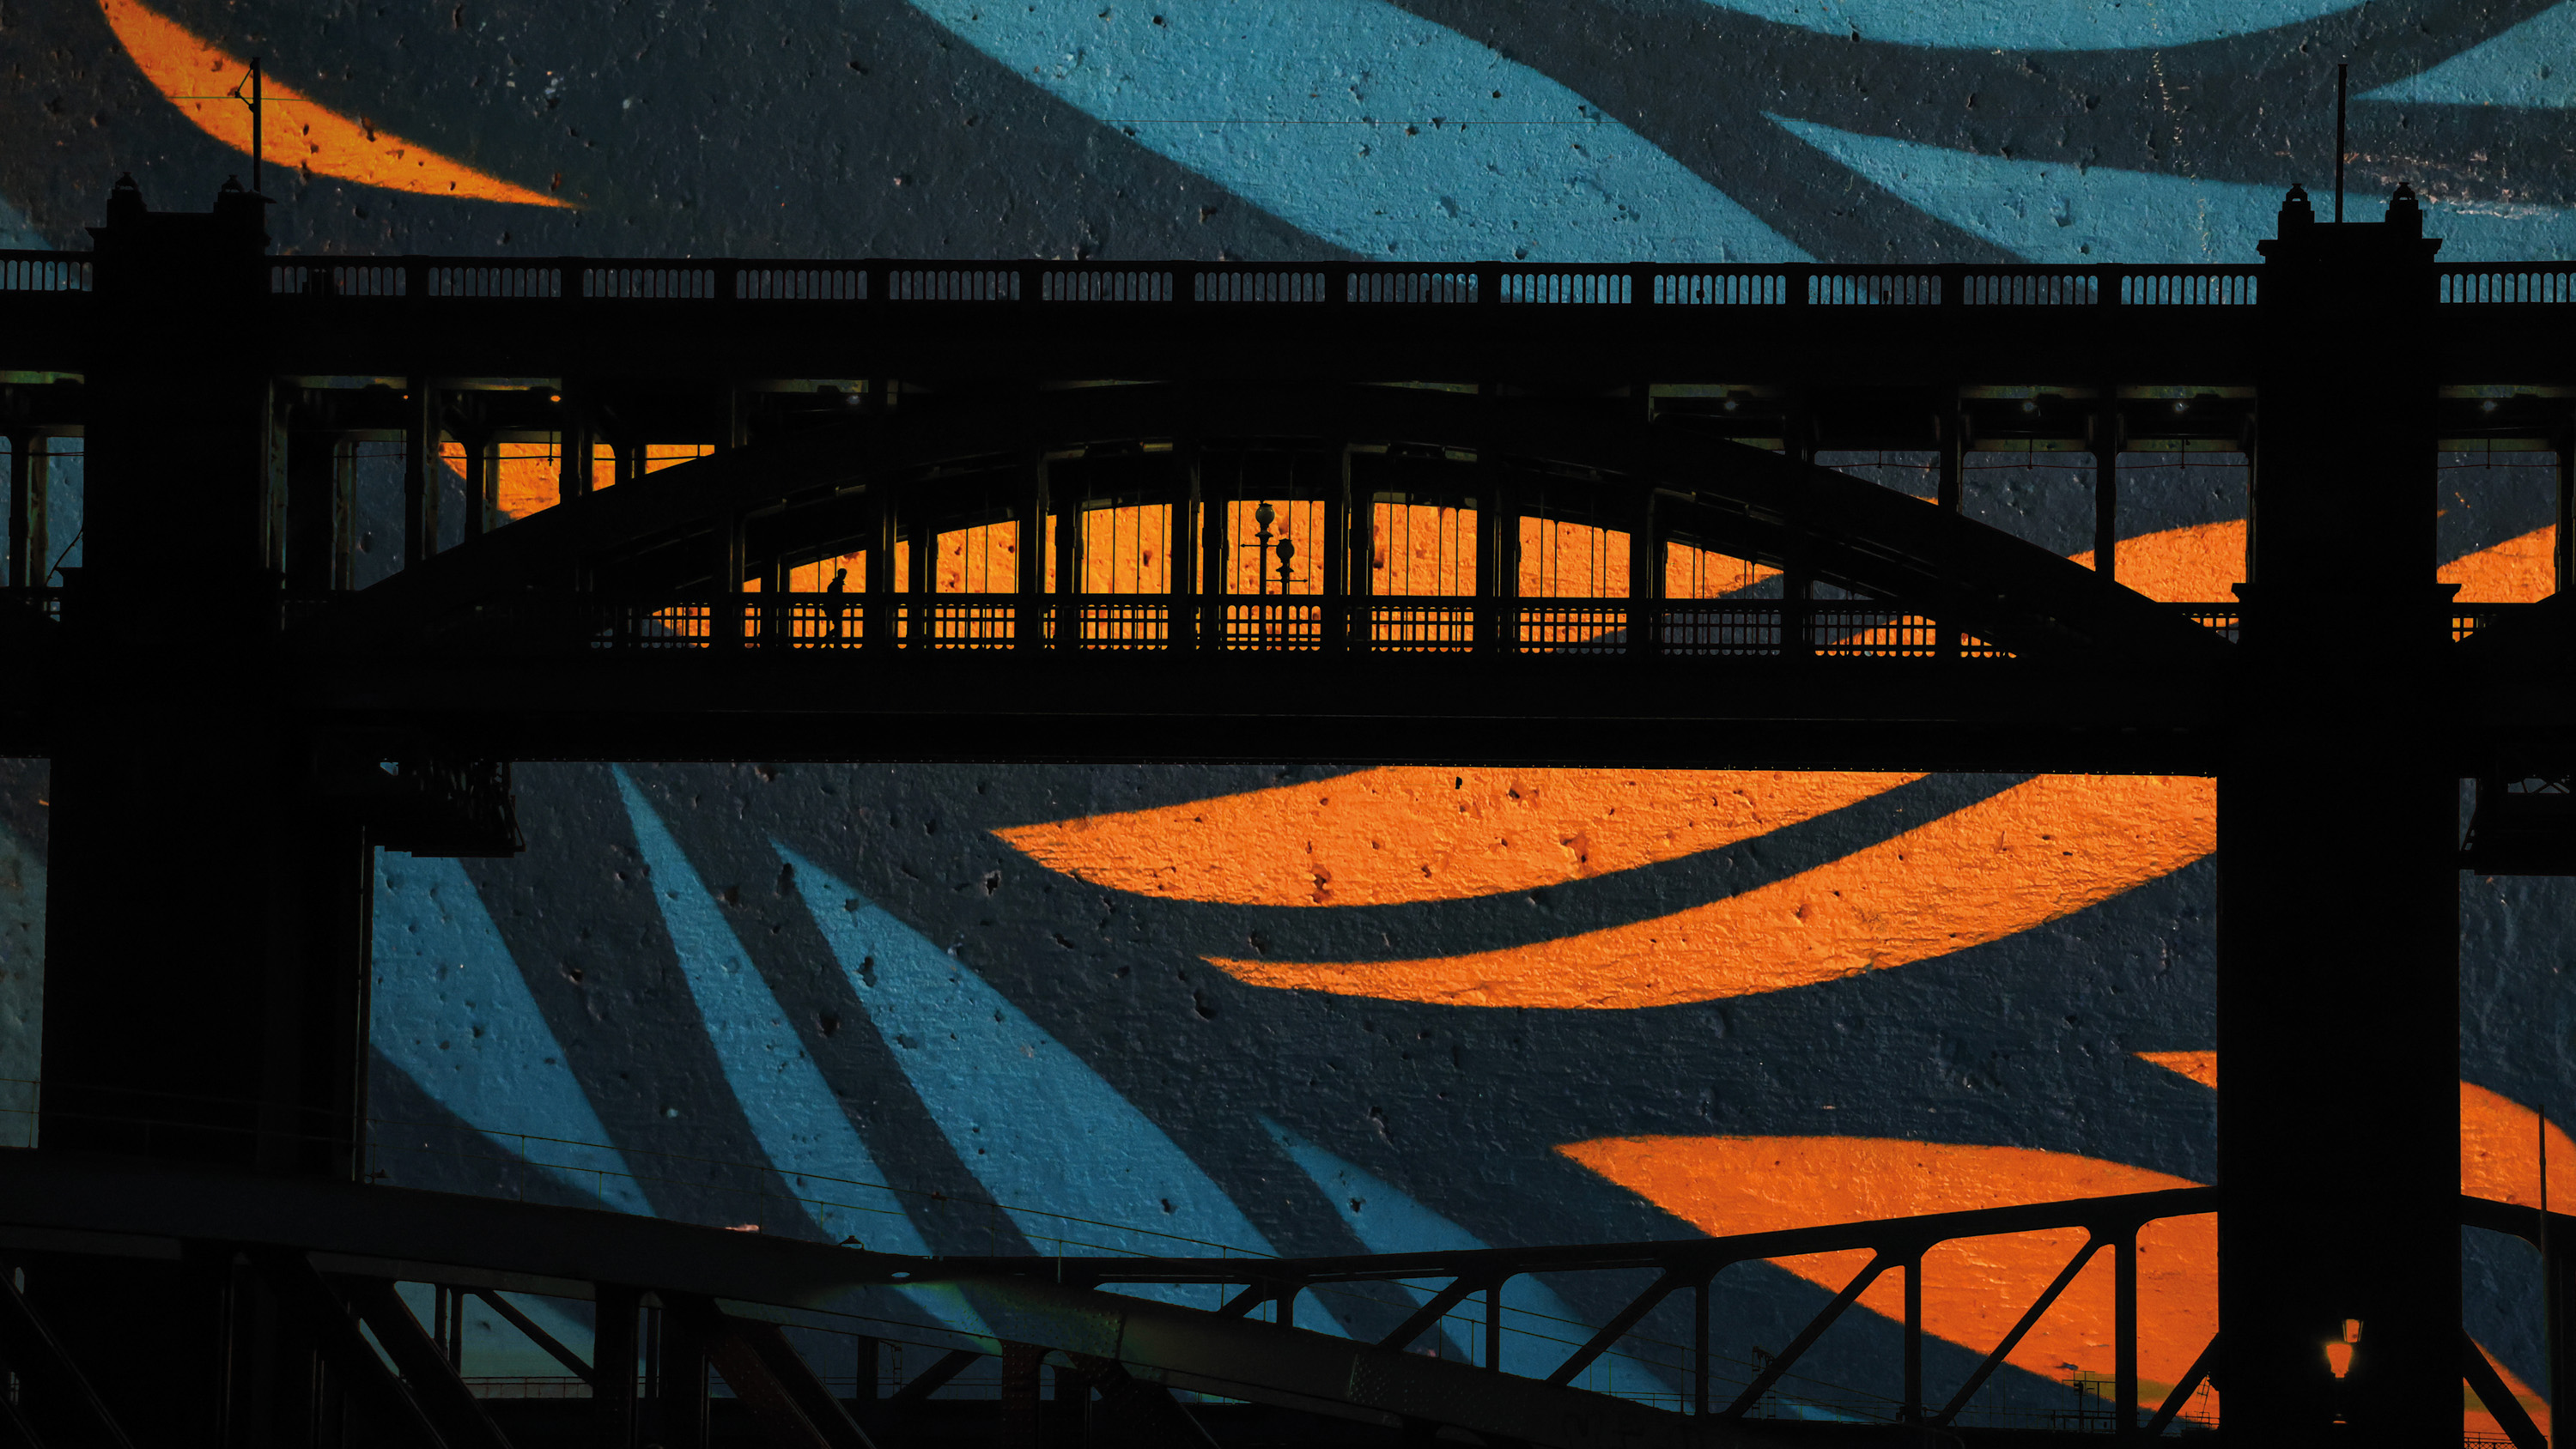
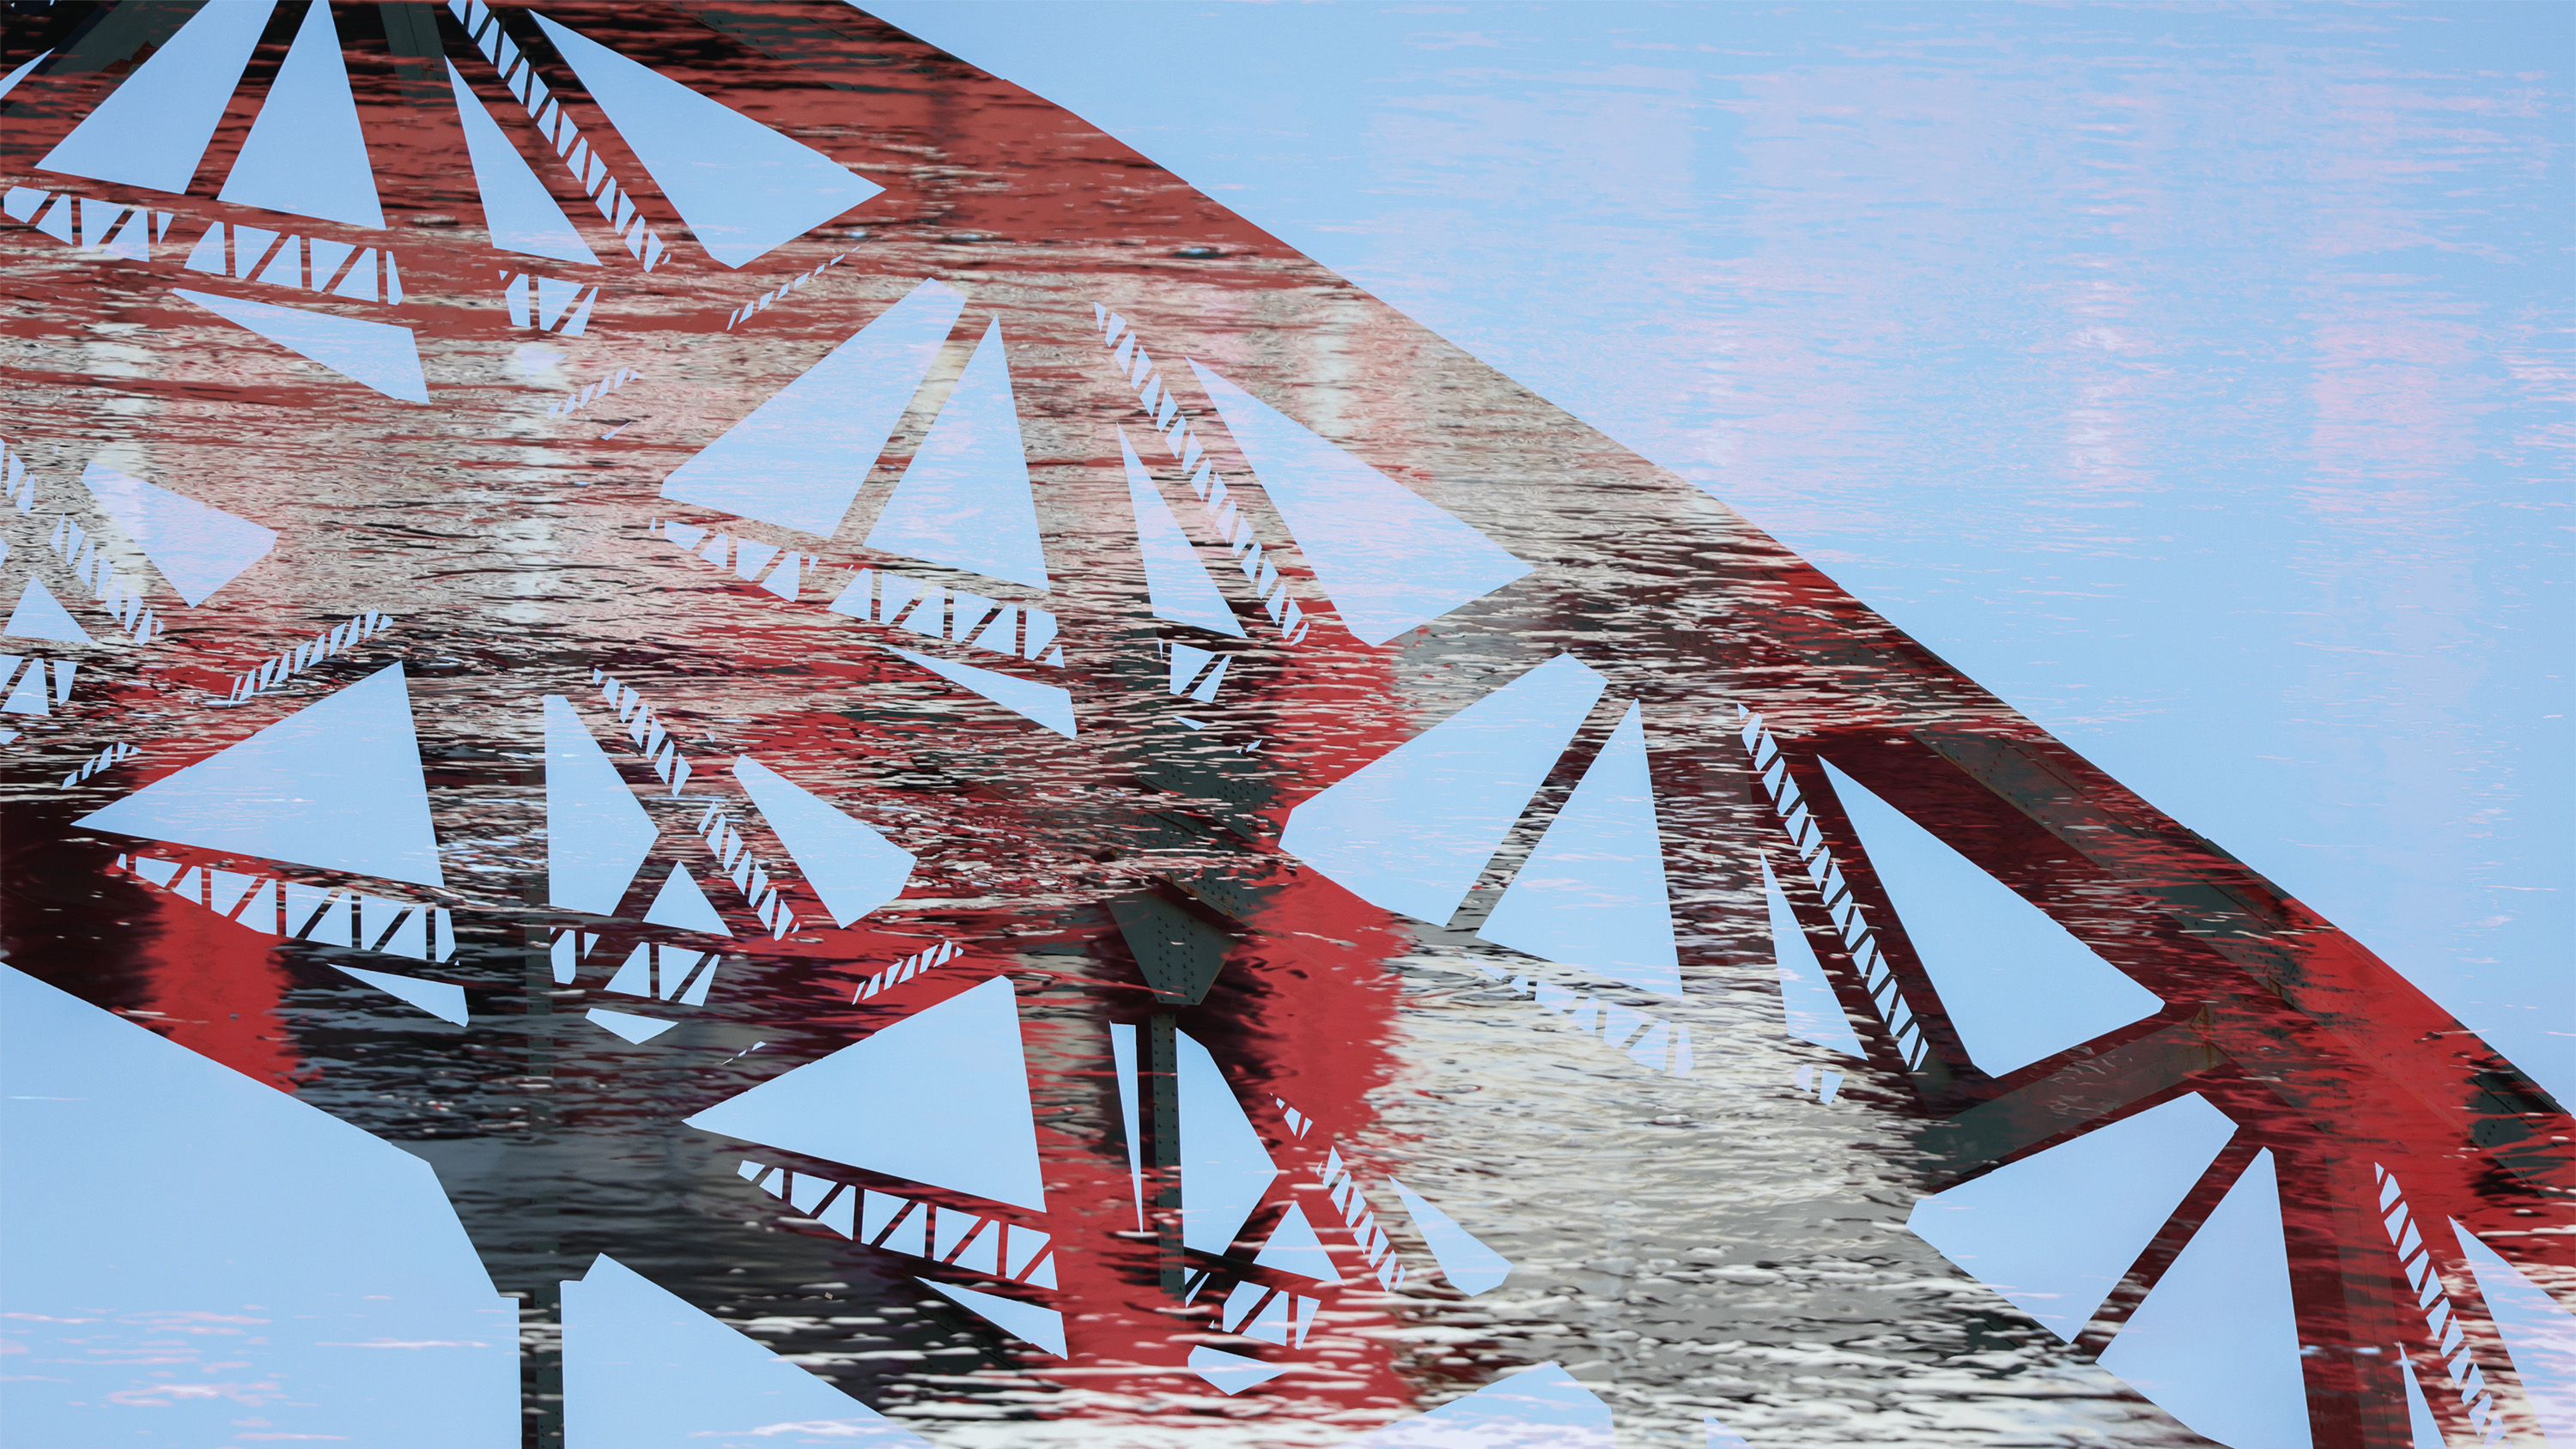
To combat this, it’s often necessary to underexpose each frame by around a stop in Additive mode, thereby producing a final image with a neutral (centered) exposure. Many people choose this mode if they prefer a similar experience to traditional film-era multiple exposure photography.
Next up is Average mode. With this selected, the camera will automatically adjust the exposure of each frame to compensate for exposure variations. This will give you a shot with the same brightness as a correctly exposed single frame.
Meanwhile, Bright or Lighten mode will only allow the brightest pixels from the underlying image to show through the second. This is ideal if you want a bright neon sign to show through a darker brick texture, for example.
Conversely, Darken mode has the opposite effect and prioritises the darker pixels. If you want texture from the second image to only be visible in the sky of the first, or through the breaks in the tree line of a forest, this is the mode to choose.
In many cases, trial and error play a part in successfully crafting in-camera multiple exposures, although experience definitely helps with identifying the perfect pairings of subject matter and overlays. On some cameras, there will be a mode where you can see a live preview of the blended image, which can be a big help when finalizing the composition of your shot.
A pro tip to consider here is to ensure the continuous multiple exposure option is selected in the camera menu. This gives you the option to have double- or multi-exposure mode cancelled after a preselected number of shots have been taken, or to keep it active after each frame blend is complete.
When you’re not sure when the next opportunity will come along, it’s best to use the auto-cancel option, so you don’t get caught out and produce a blended frame when you actually wanted a single frame.
However, where crafting abstract images is the whole purpose of your shoot, keeping the mode active at all times speeds up the process and allows you to shoot many variations of a composition until you have found the perfect alignment of objects.
Some cameras will also give you the option to keep the individual frames which is useful if you want to try blending manually in software.
Mulitple-exposure in-camera steps
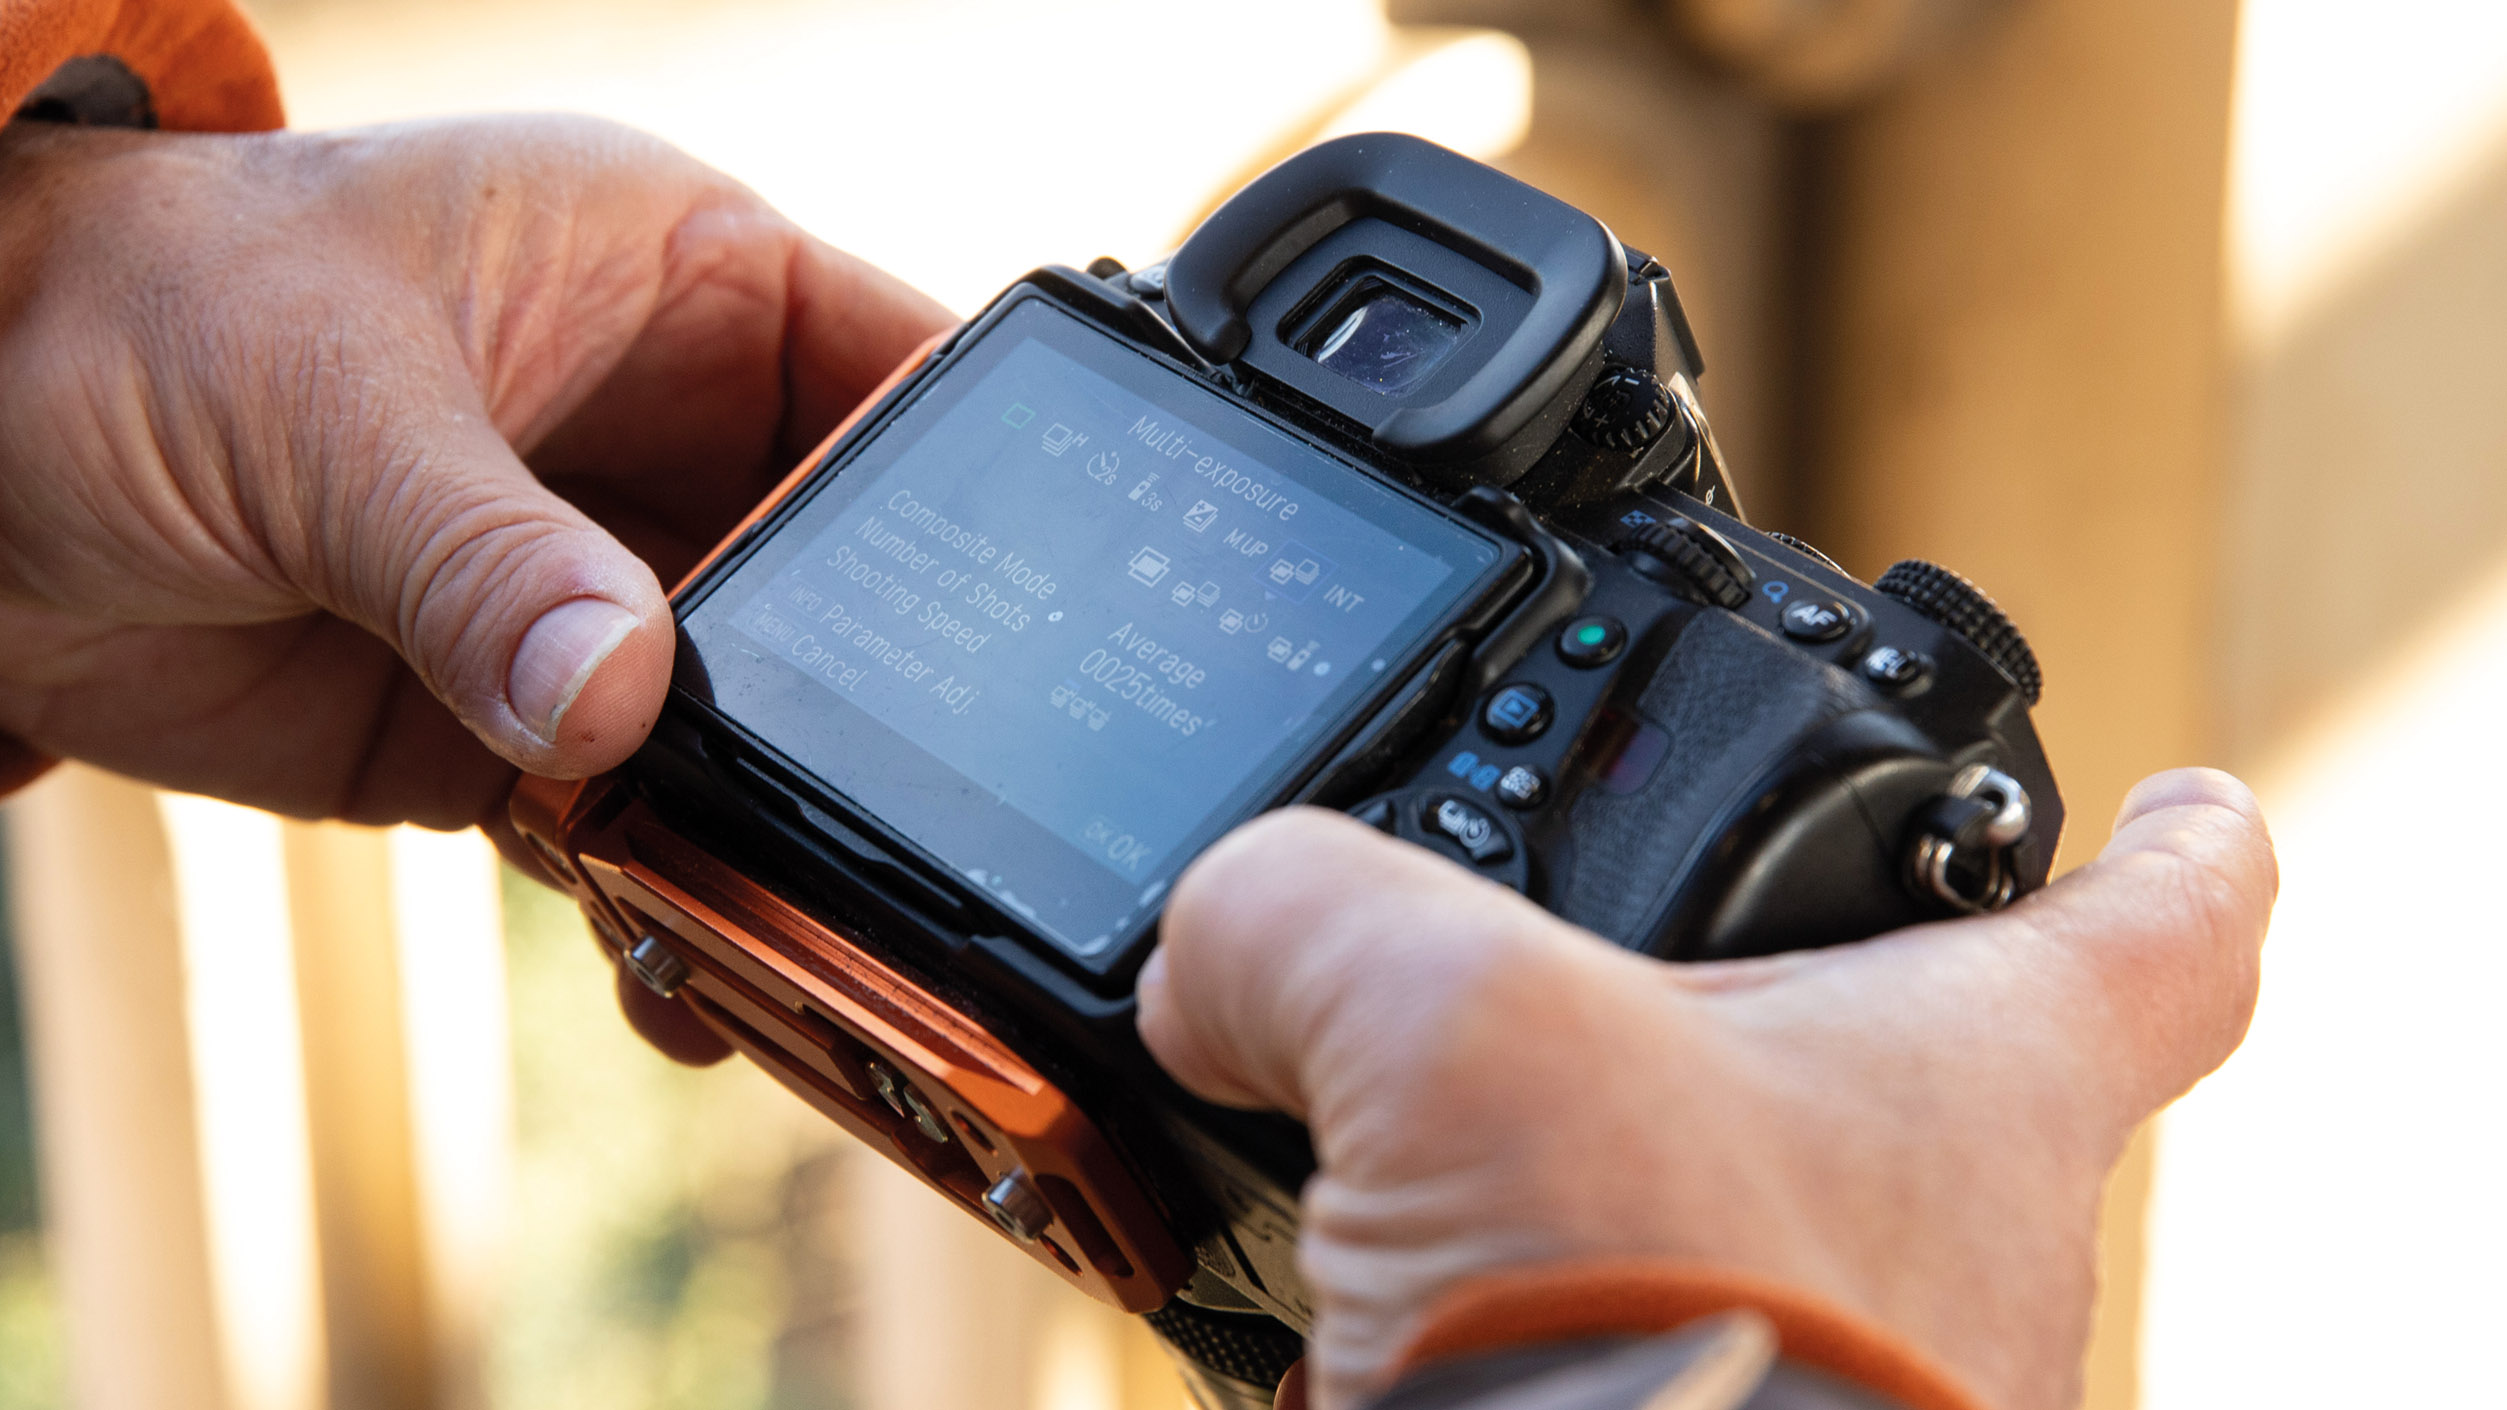
Step 1: choose your blend mode
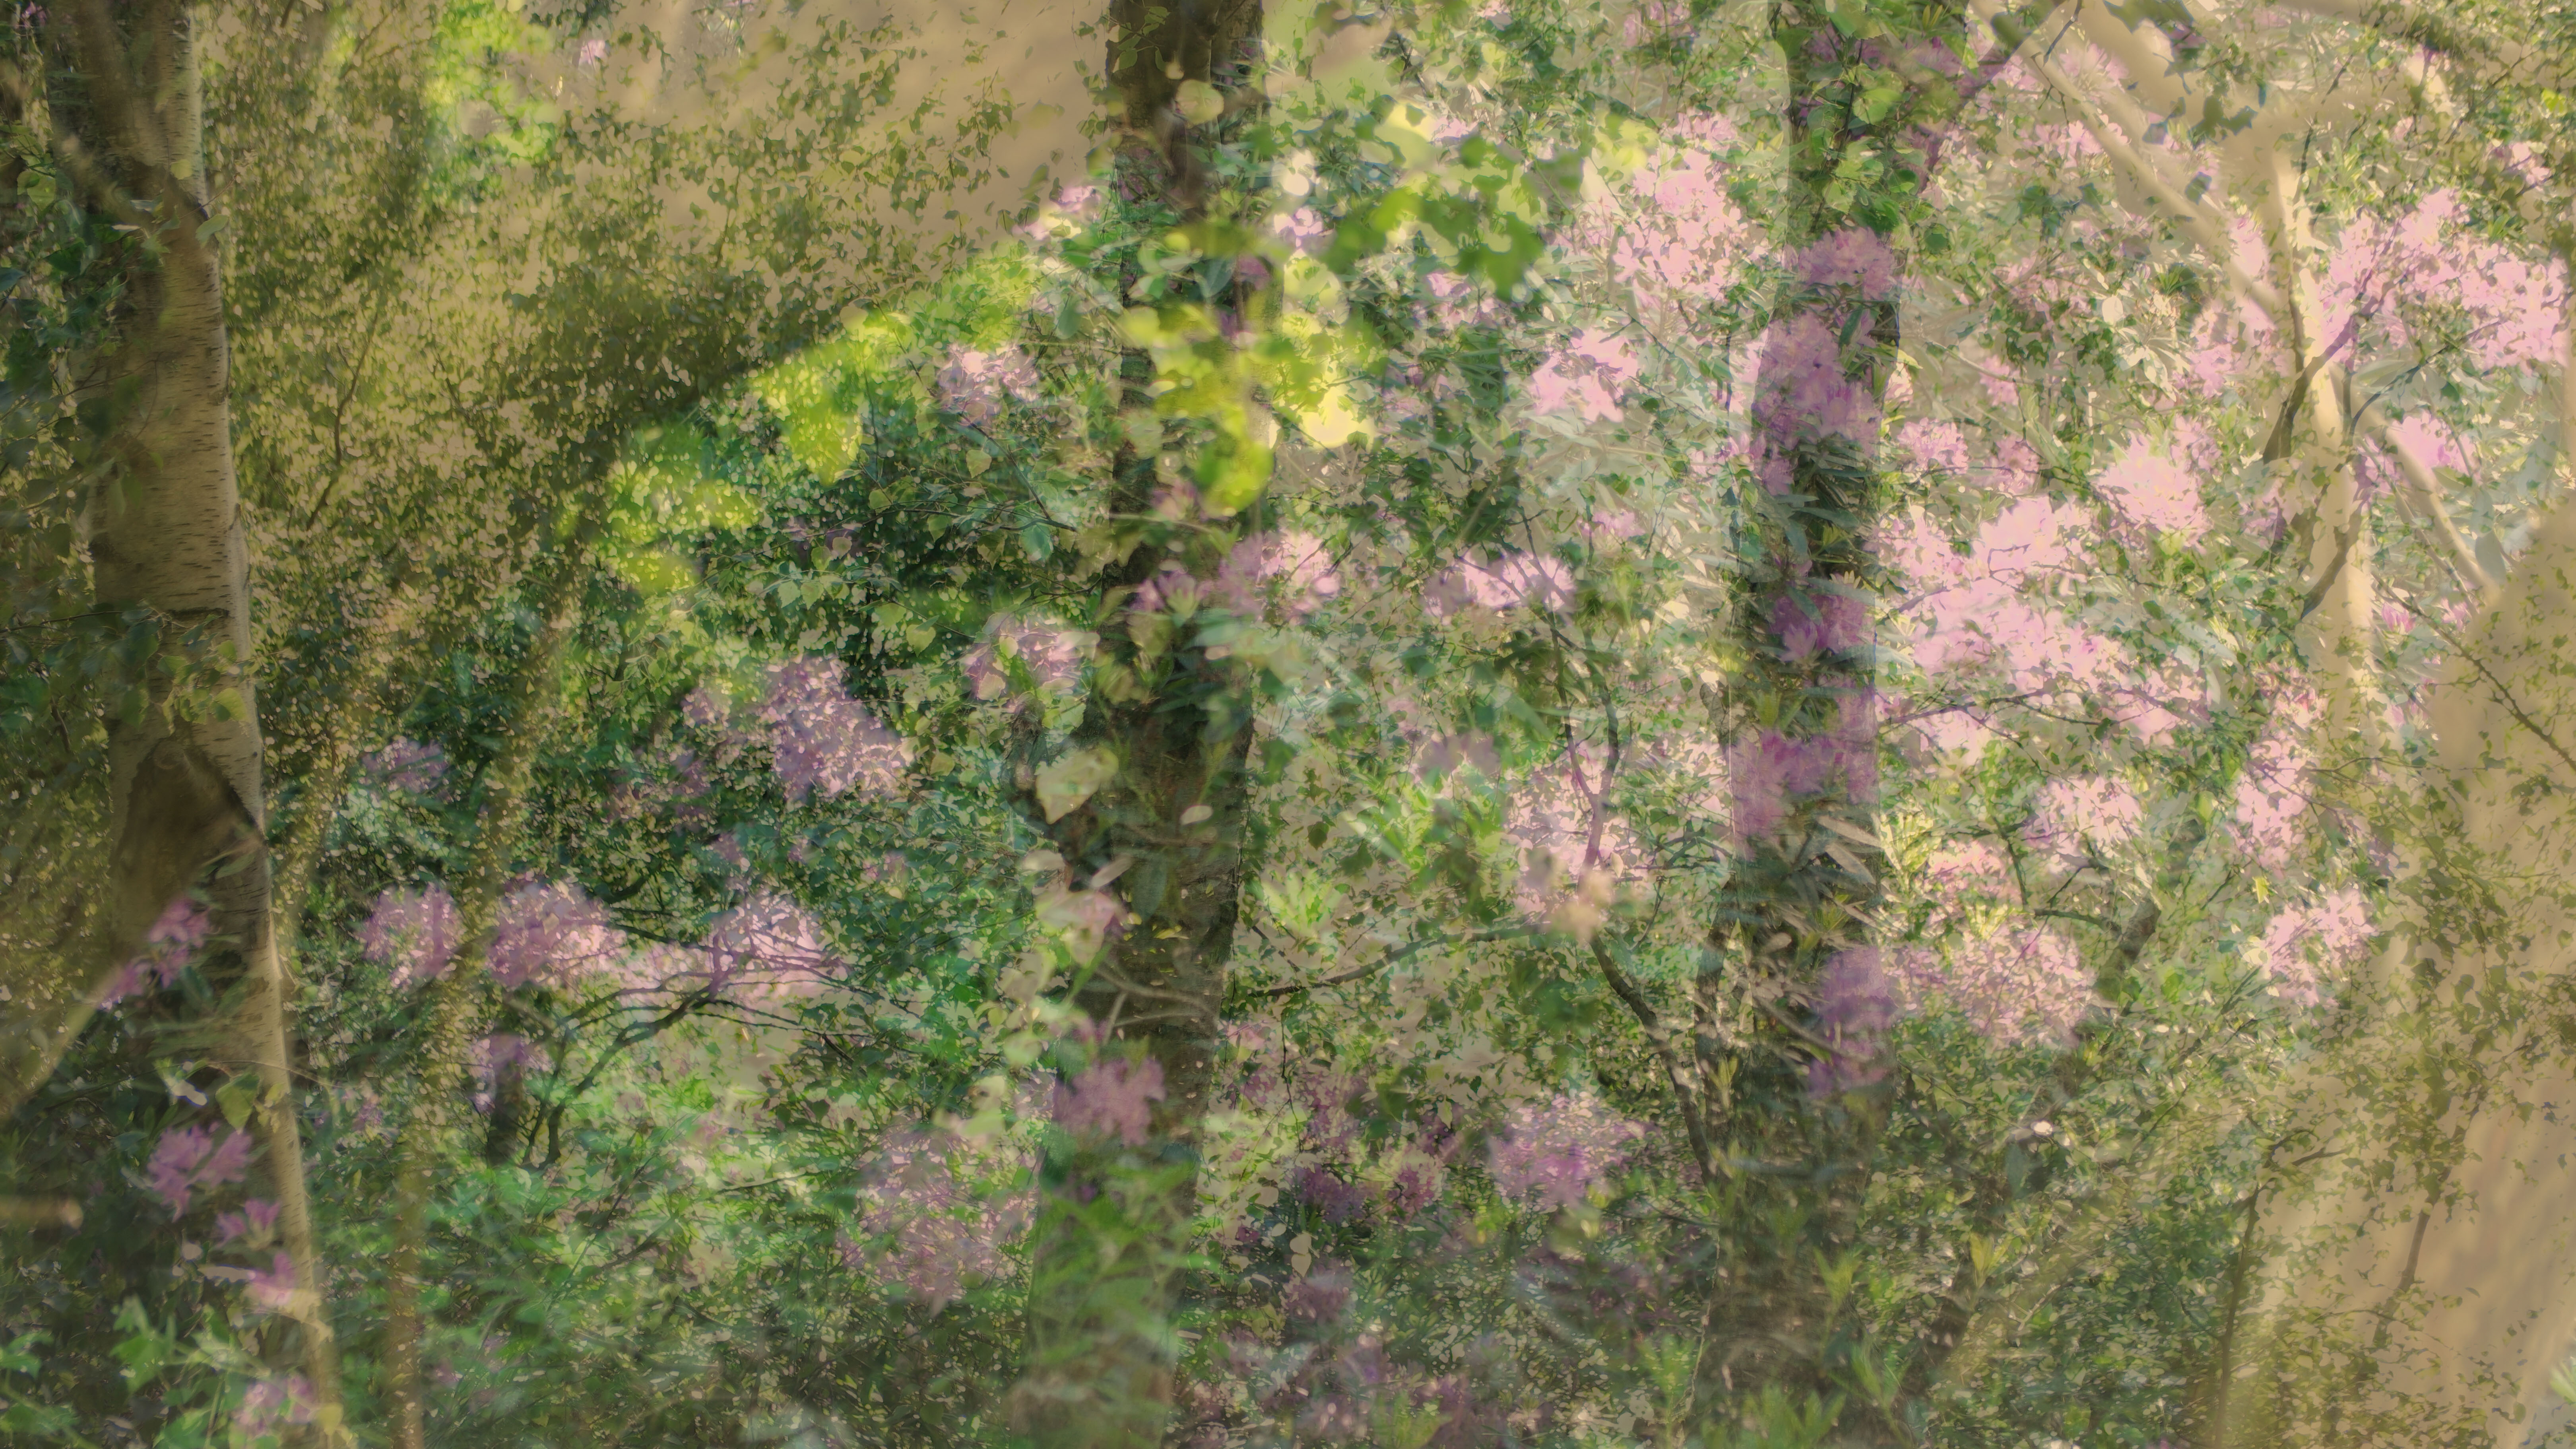
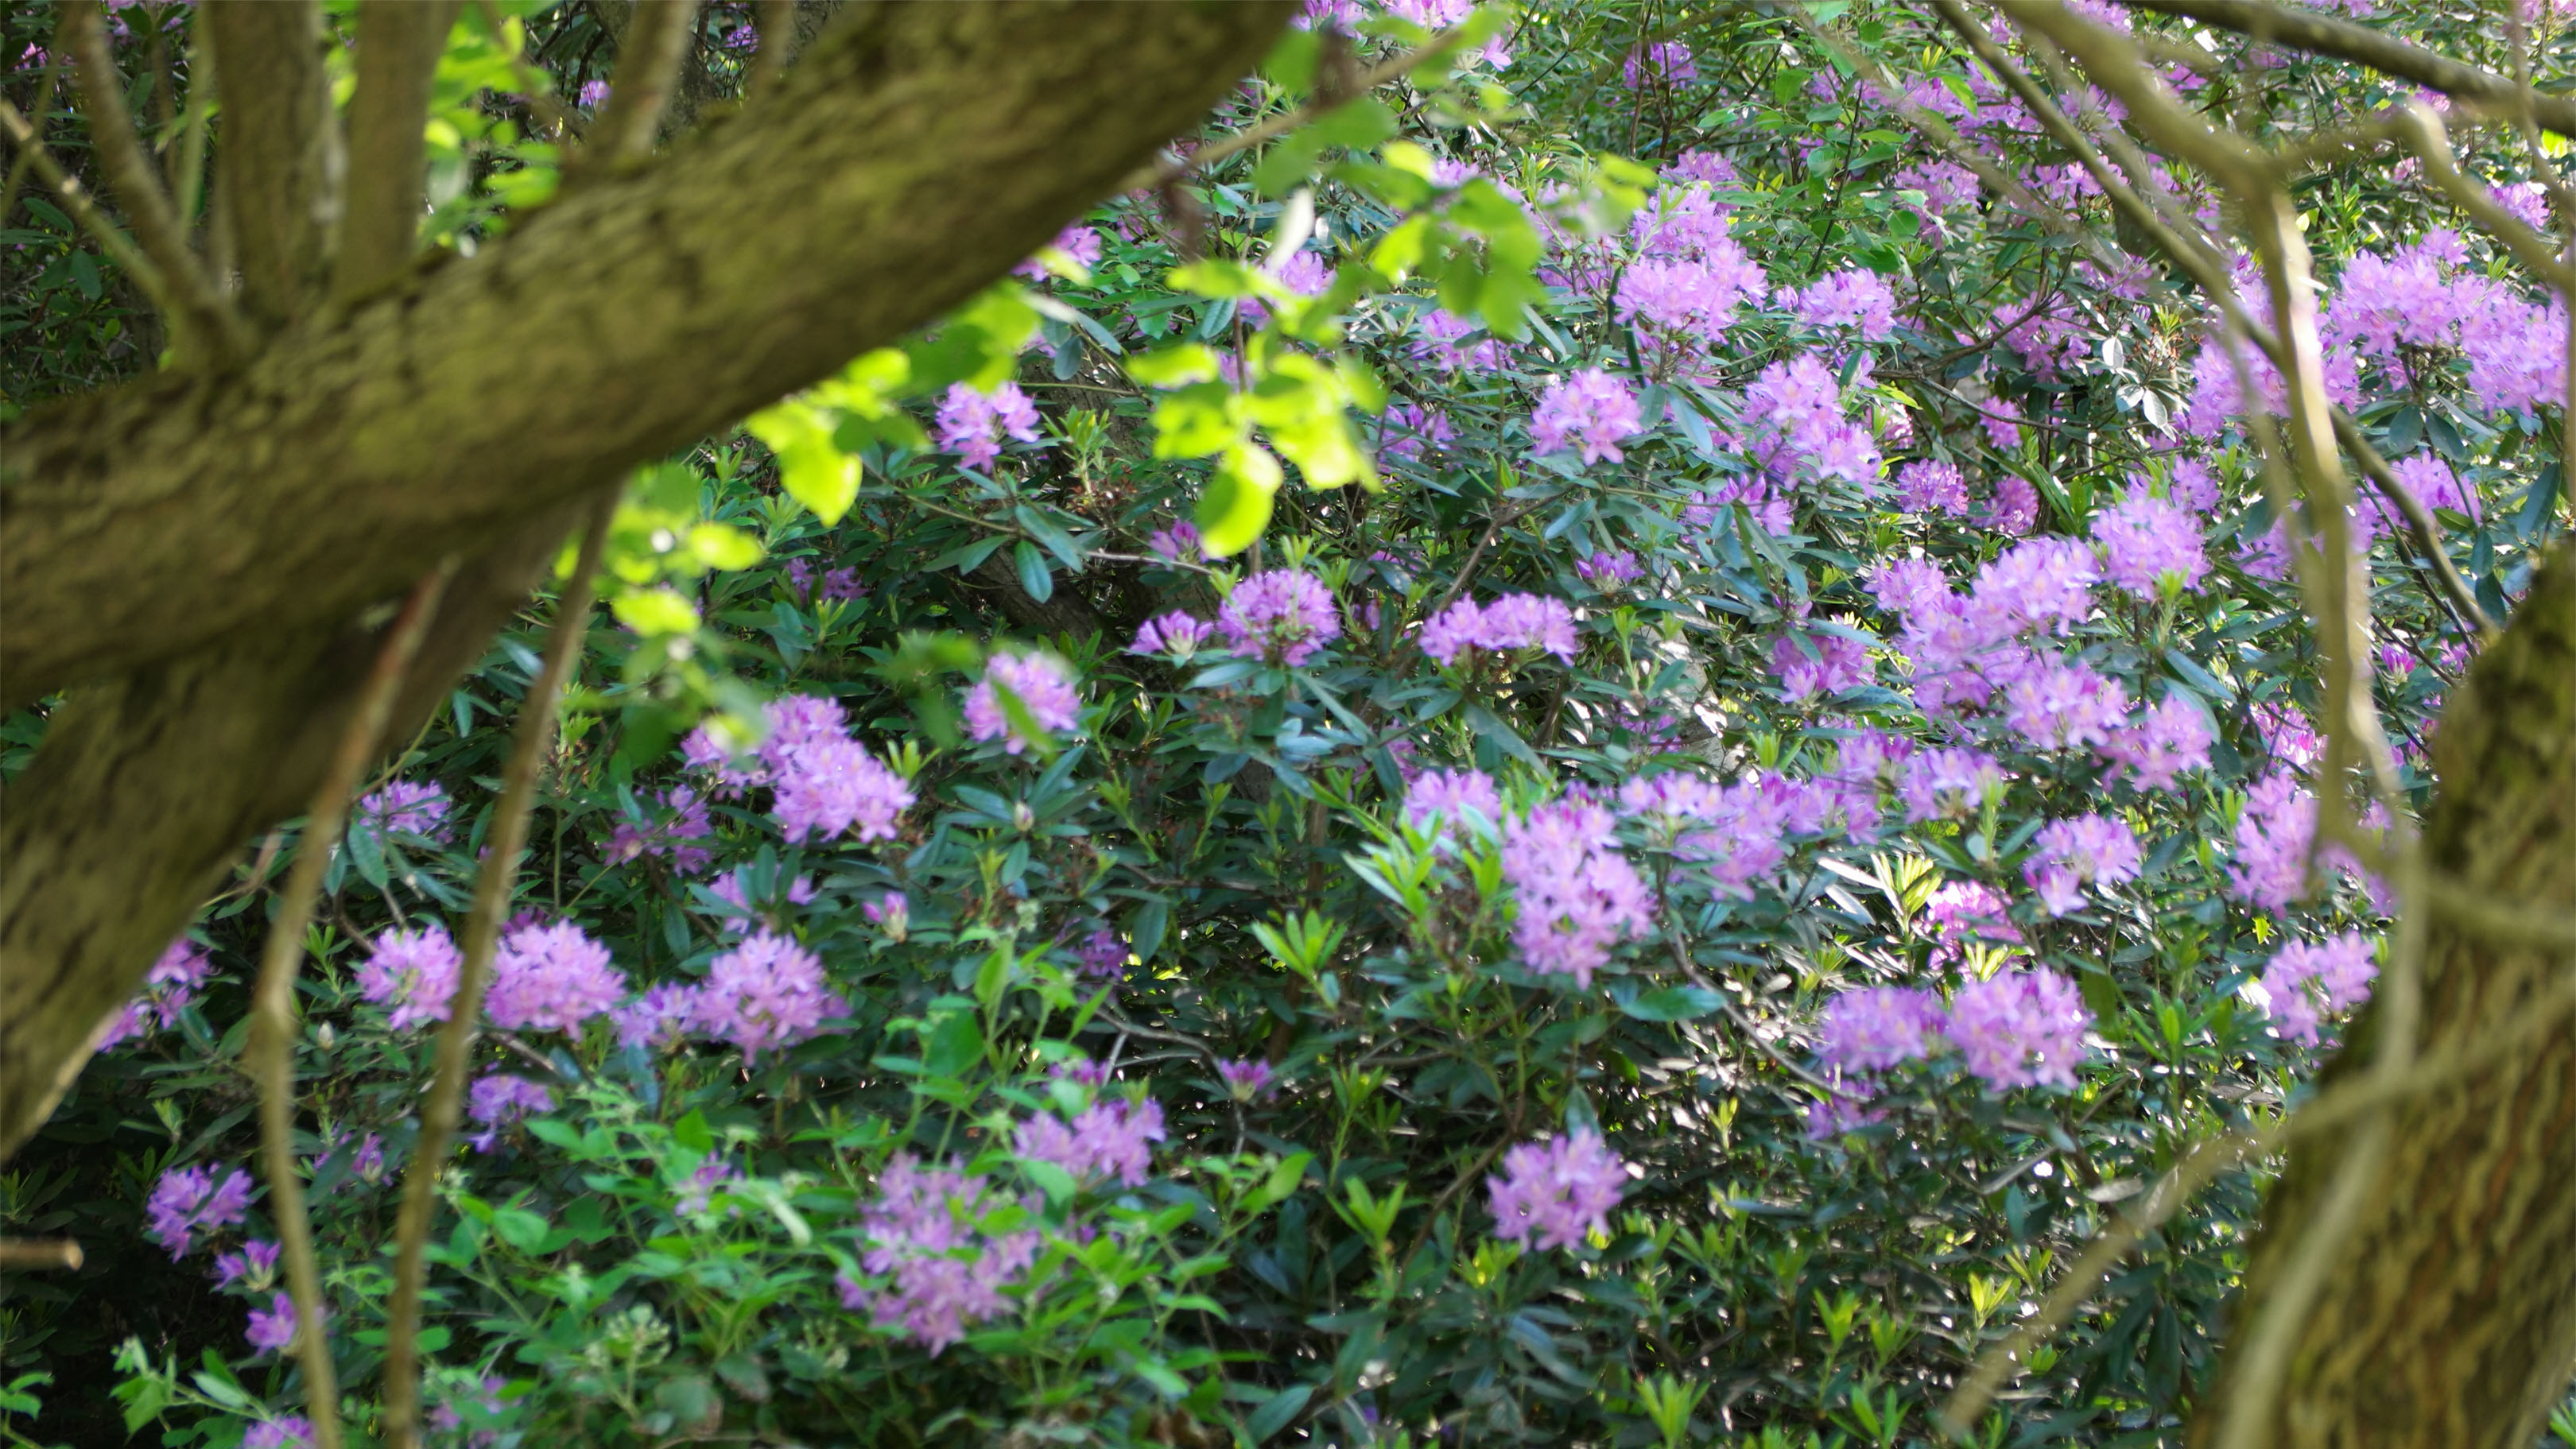
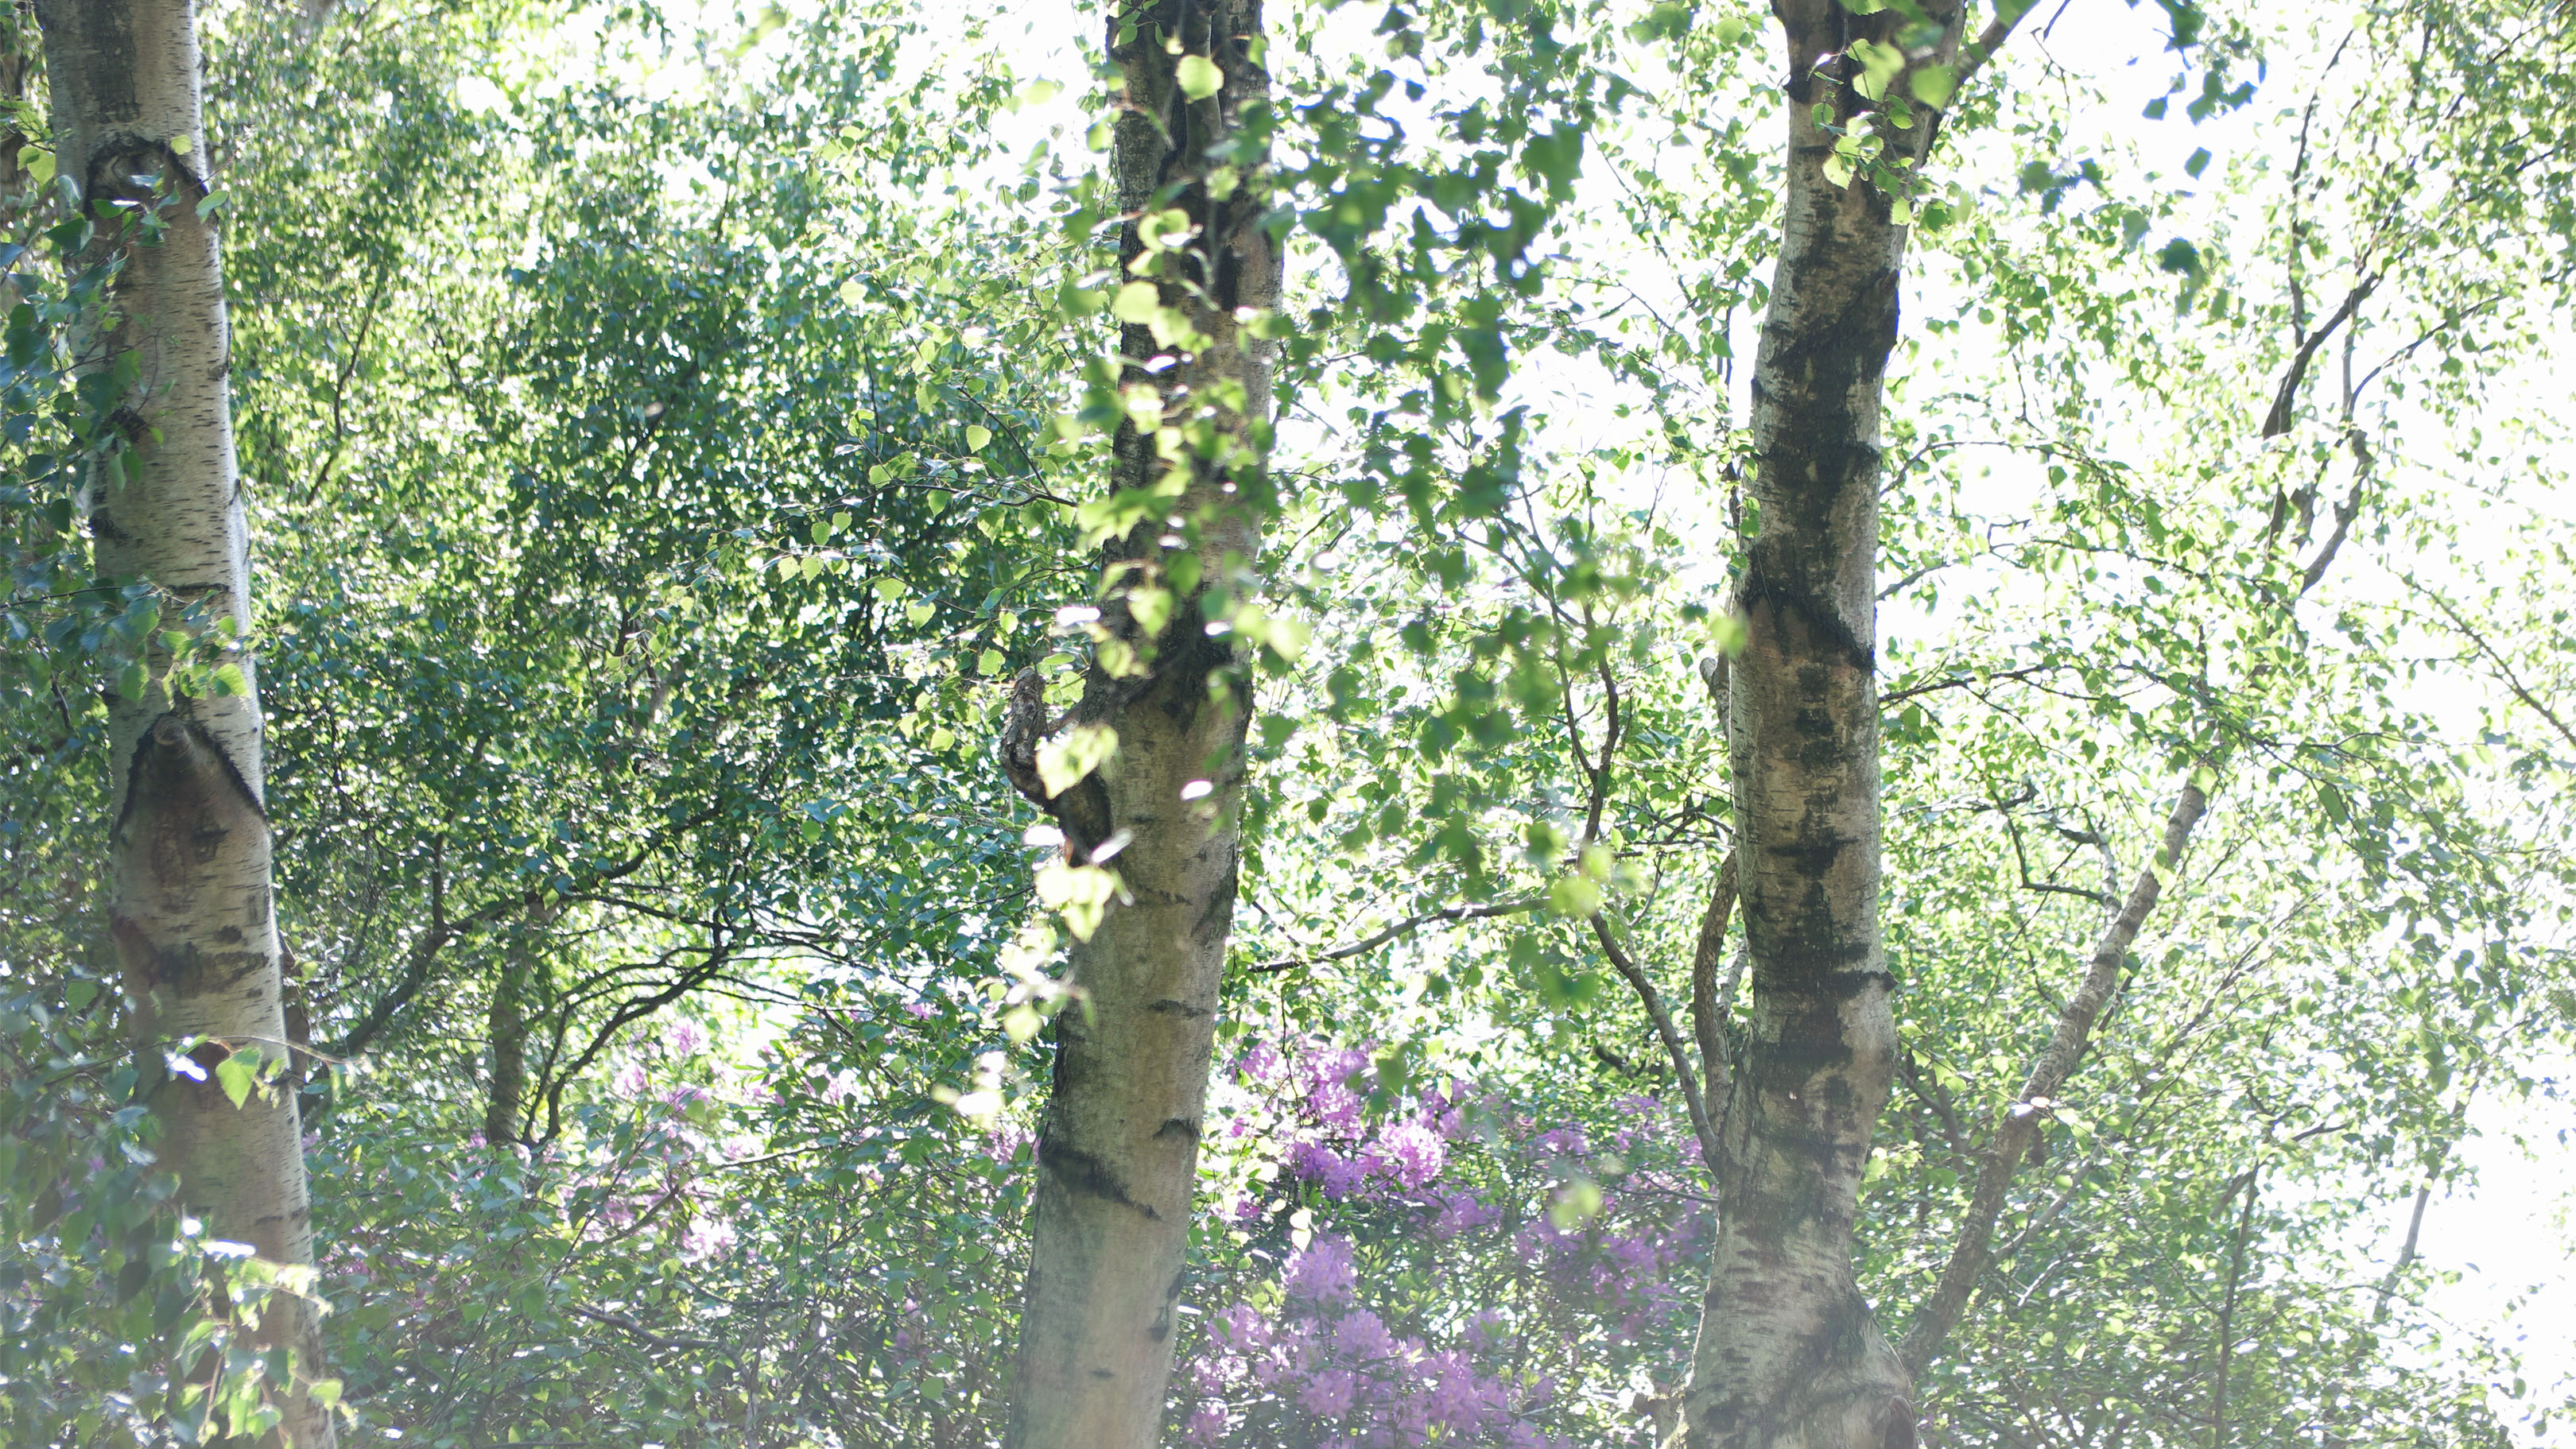
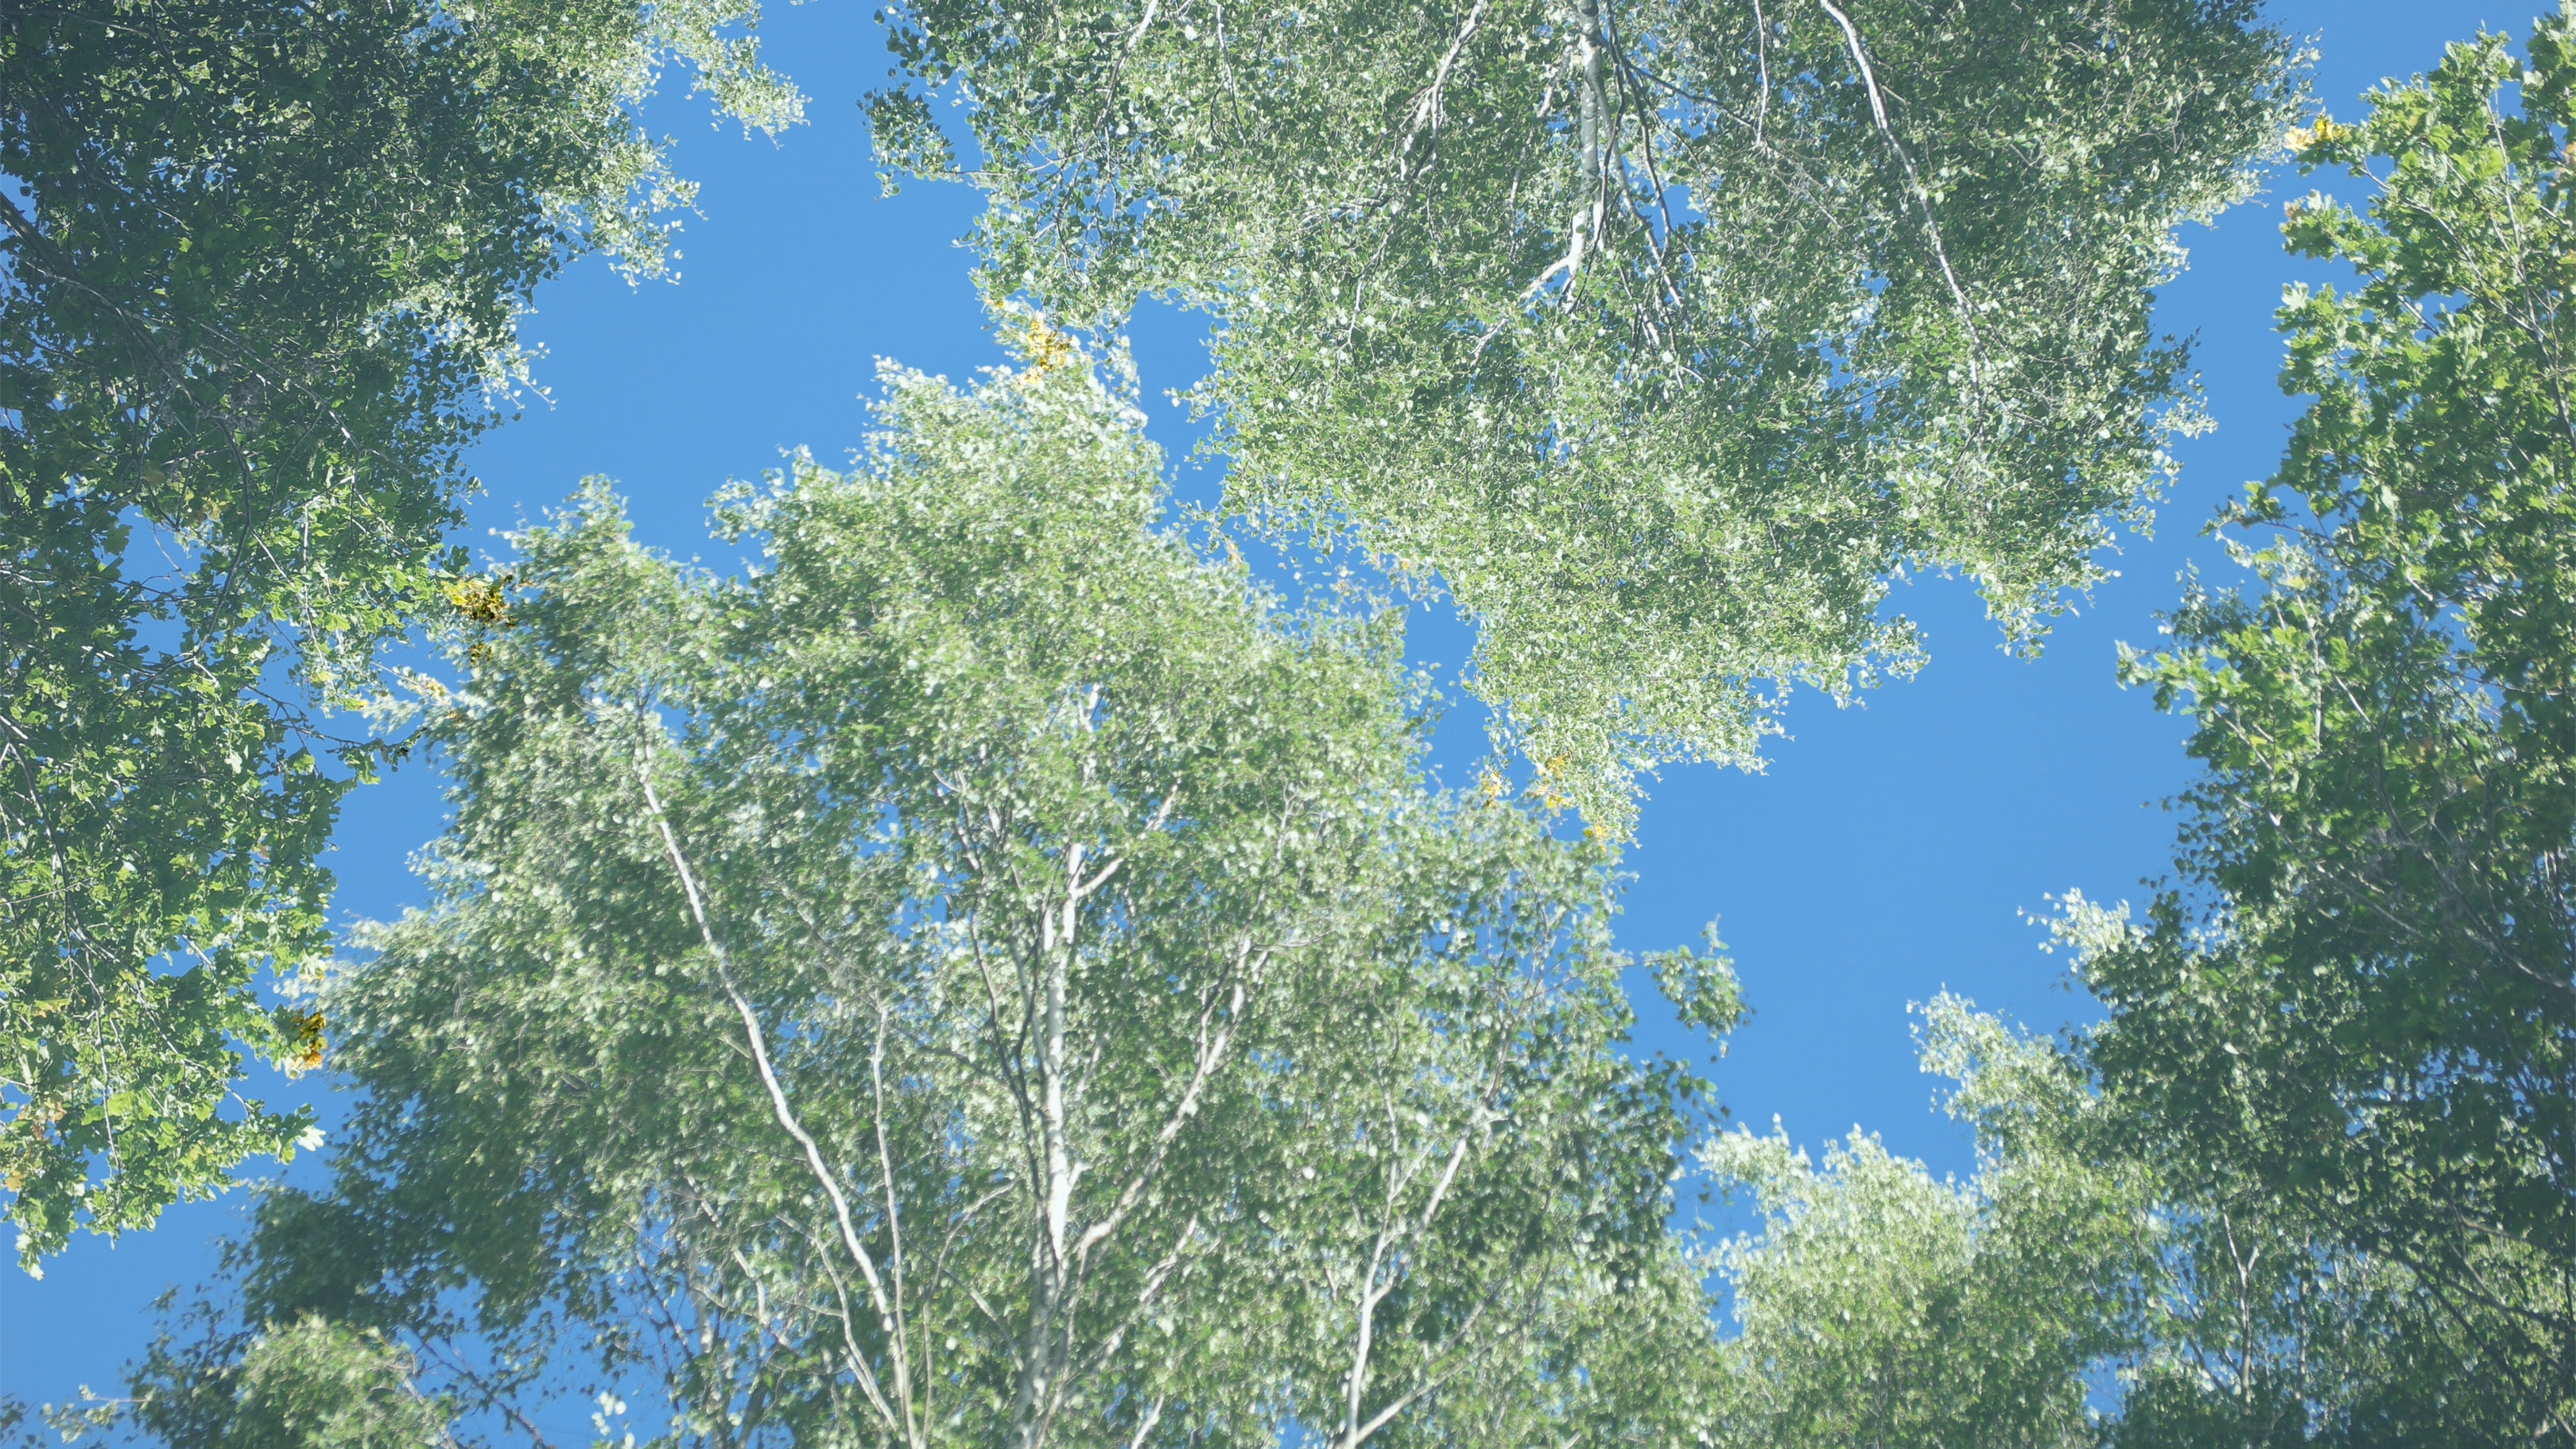
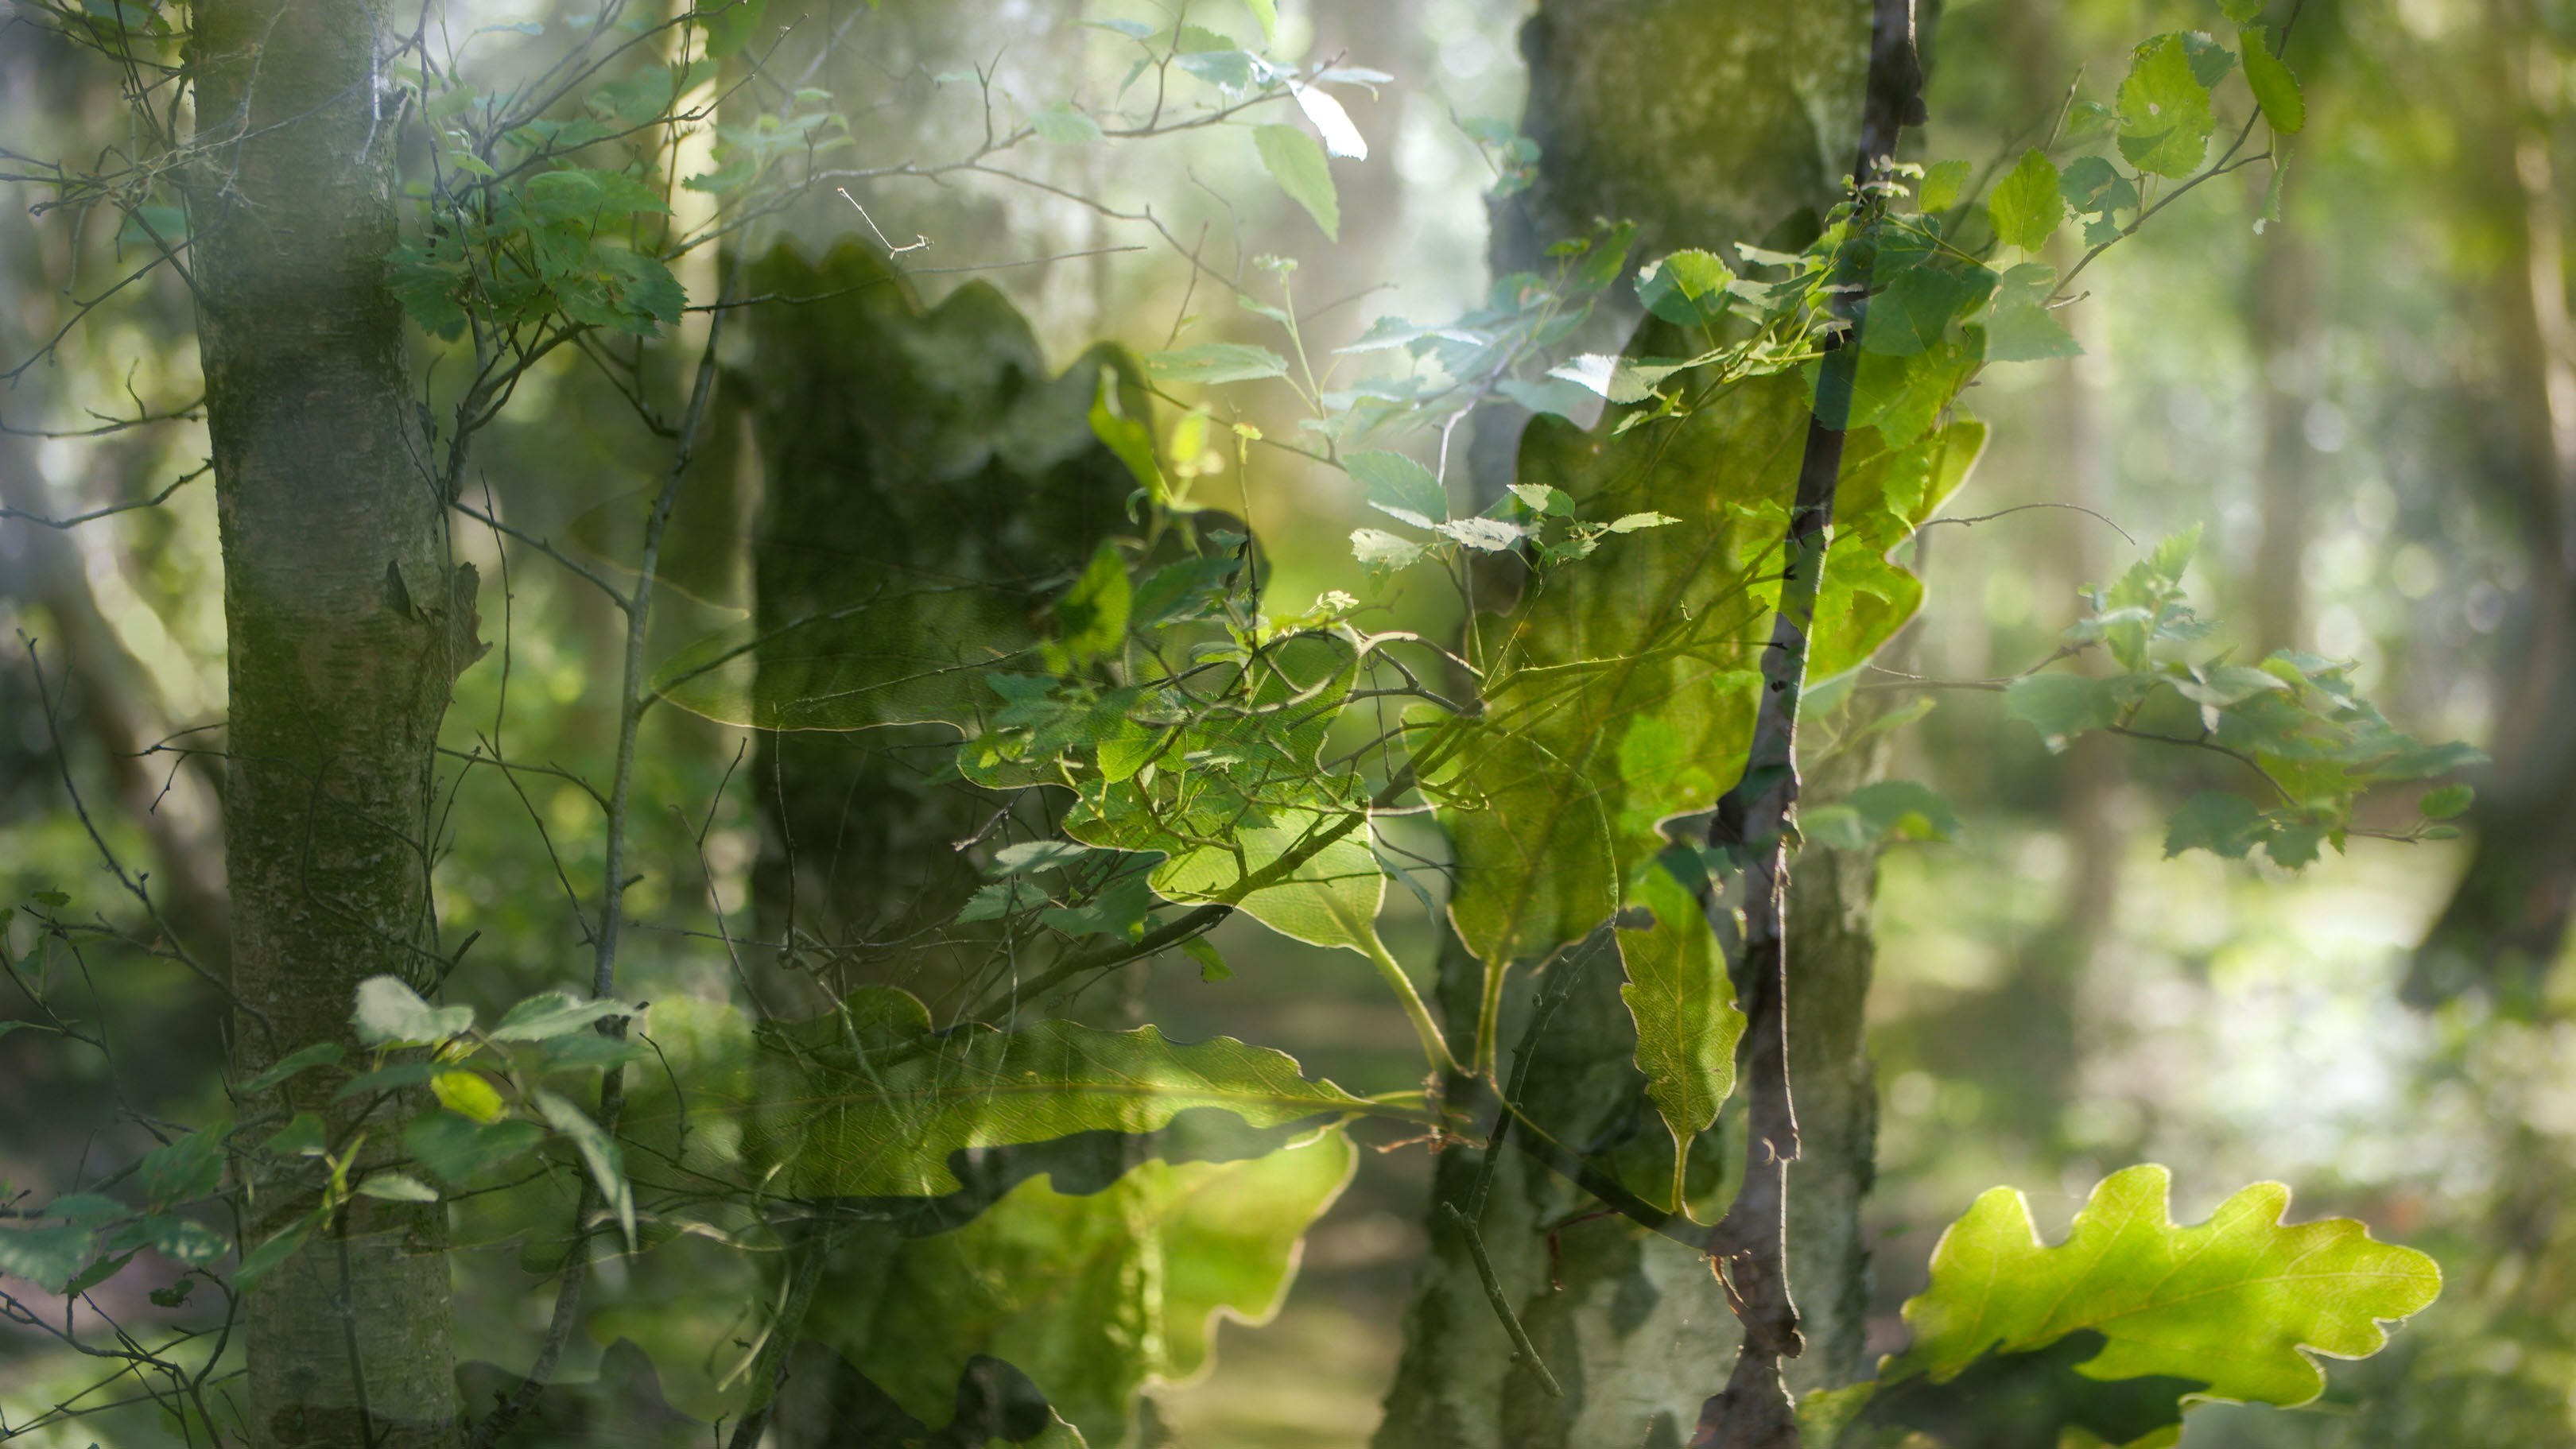
If you have a darker subject that you’d like to combine with a brighter overlay, select the Darken mode. For the forest shot (above), I wanted the darker flowers to fill the bright spaces between the trees, where the sky was visible.
Step 2: work out your exposure
Don’t forget your basic exposure calculations, but tailor them to enhance the blended image. I exposed the first base image for the shadows which quickly clipped the highlights. Since I wanted a clear separation of tones for the blend, this was perfectly acceptable. For Additive mode, underexpose each frame by around one stop.
Step 3: take your first frame
Compose your base image carefully since this will determine the overall framing of the final shot. Trigger the shutter and preview it if your camera allows live previews of the blend in progress.
Step 4: shoot your overlay
Using the preview image if available, align the live view image with the ghost-like base frame until you are happy with the composition. Take the shot and preview the blended frame, checking for unintentionally excluded details. This can occur where pixels are brighter or darker than expected and are therefore missing (or over-exaggerated) in the final blend.
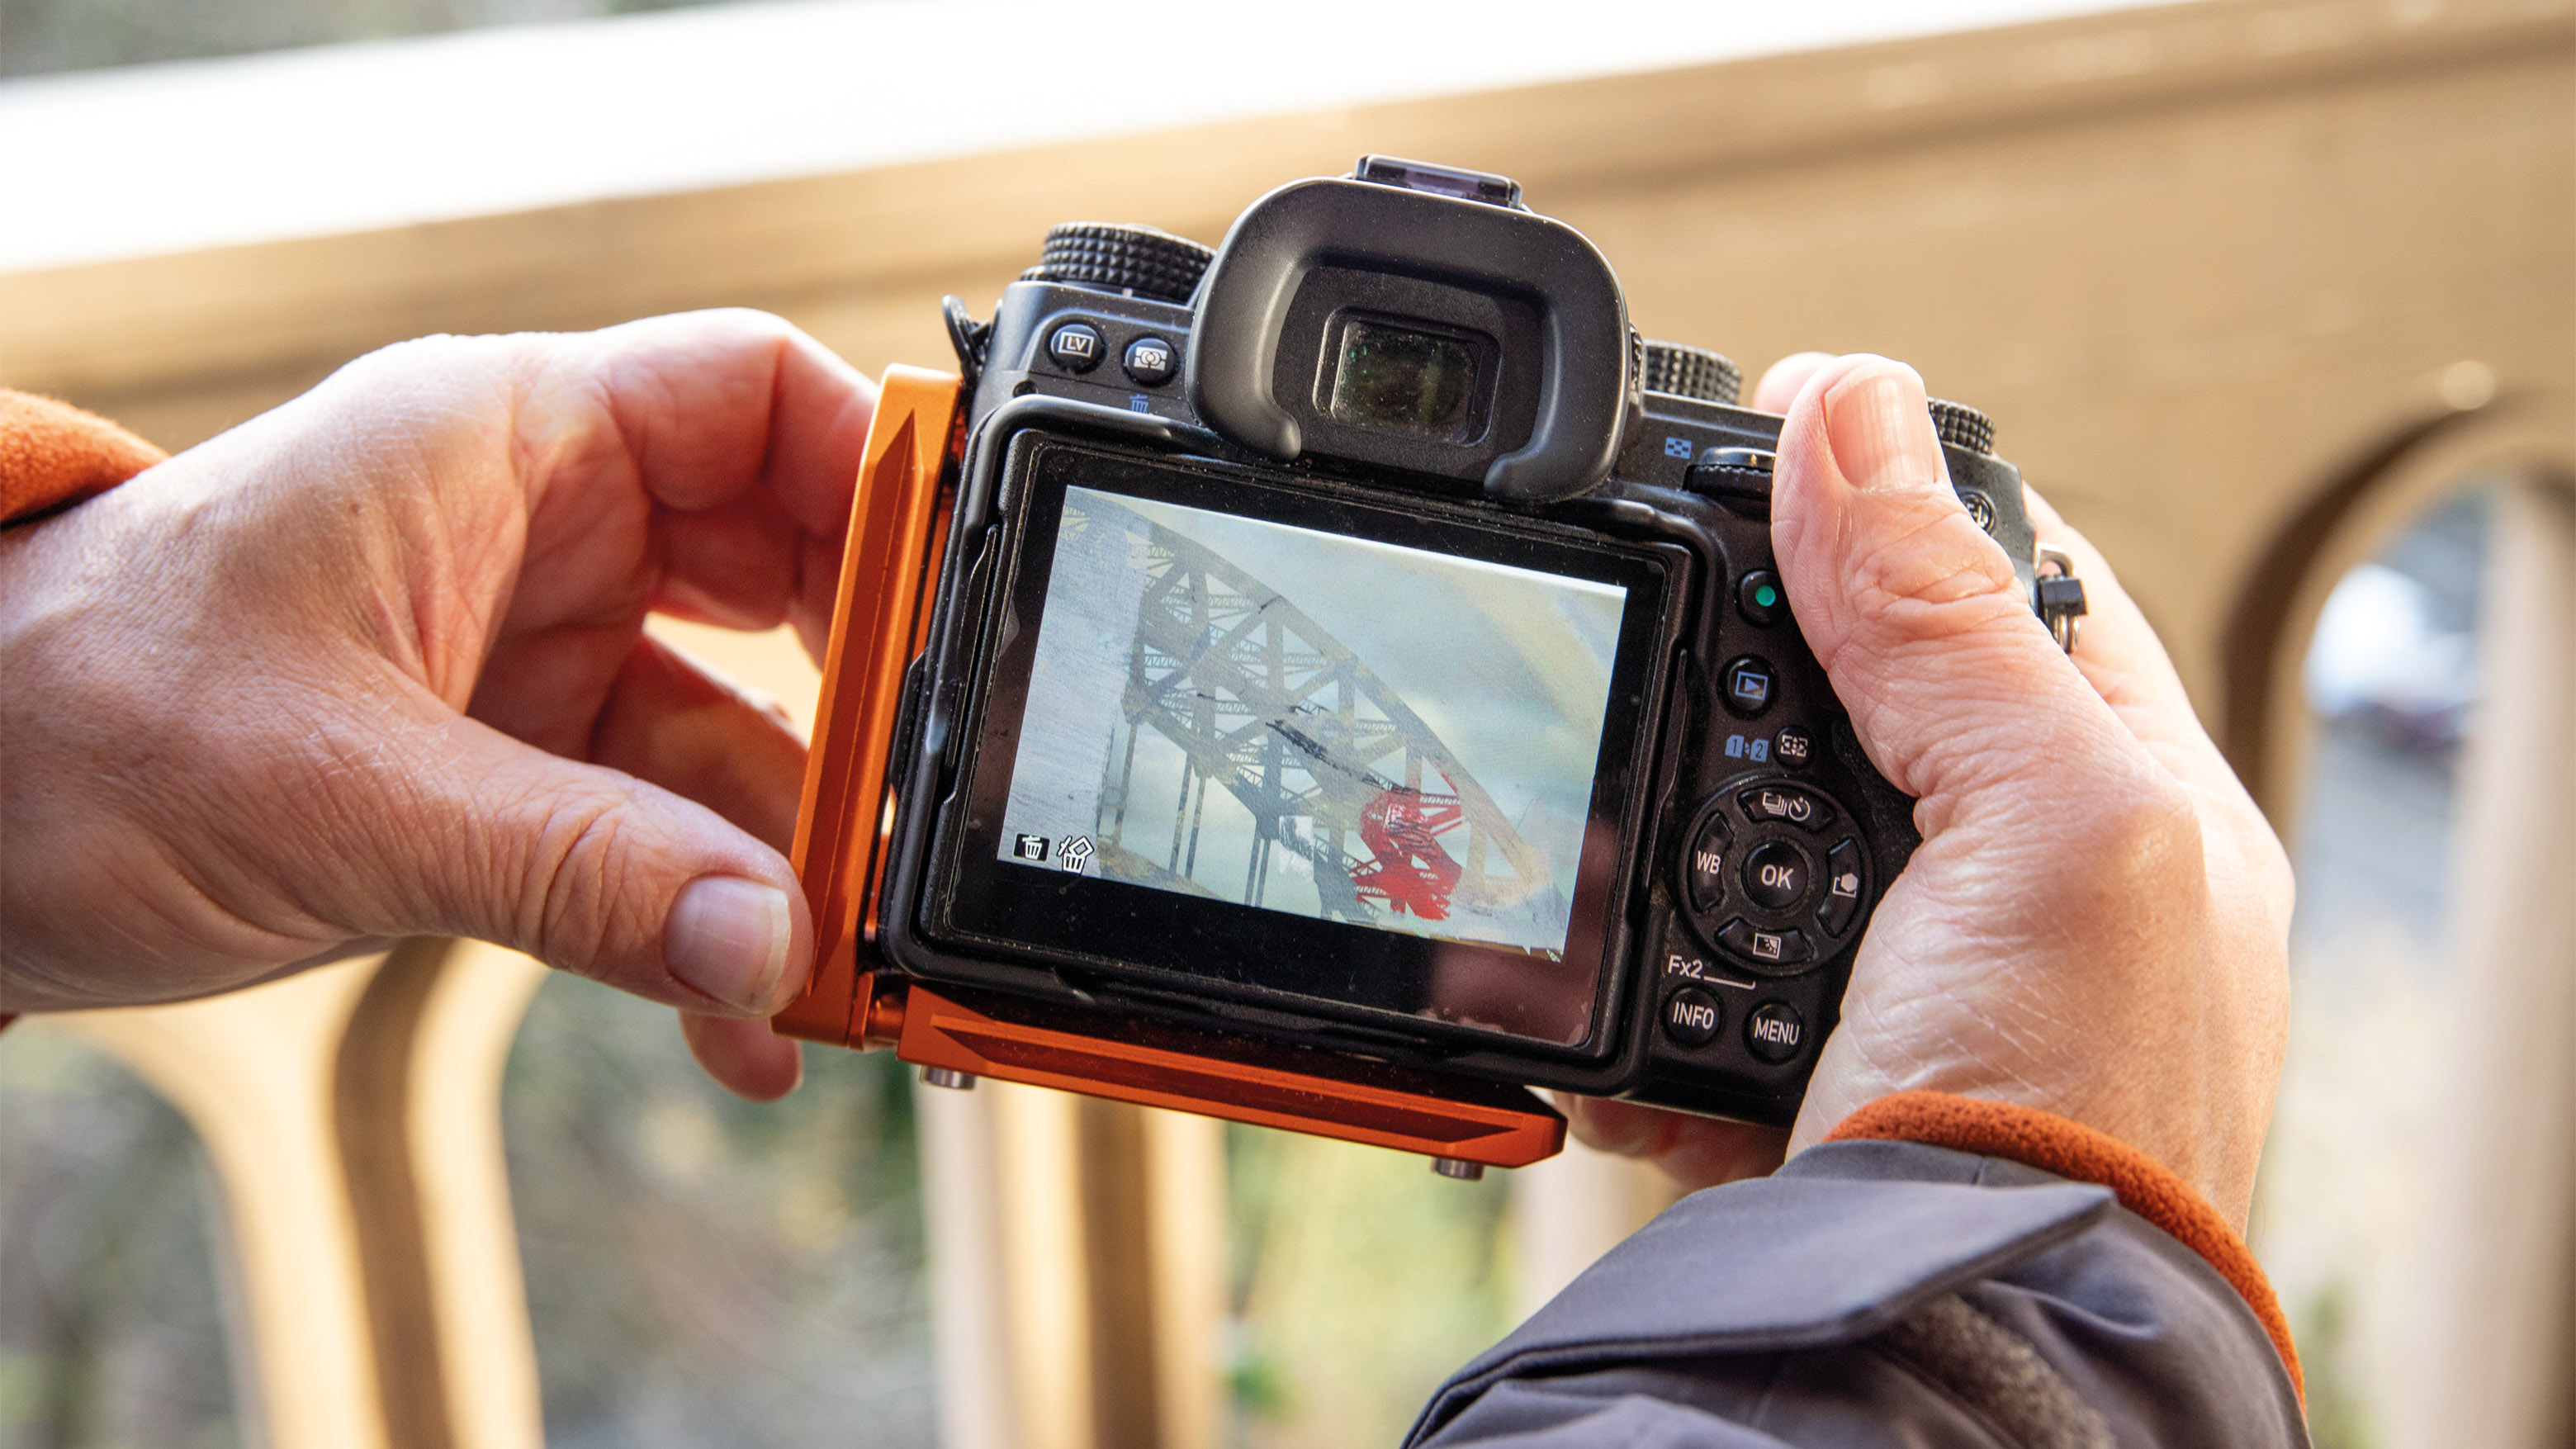
Fujifilm workflow
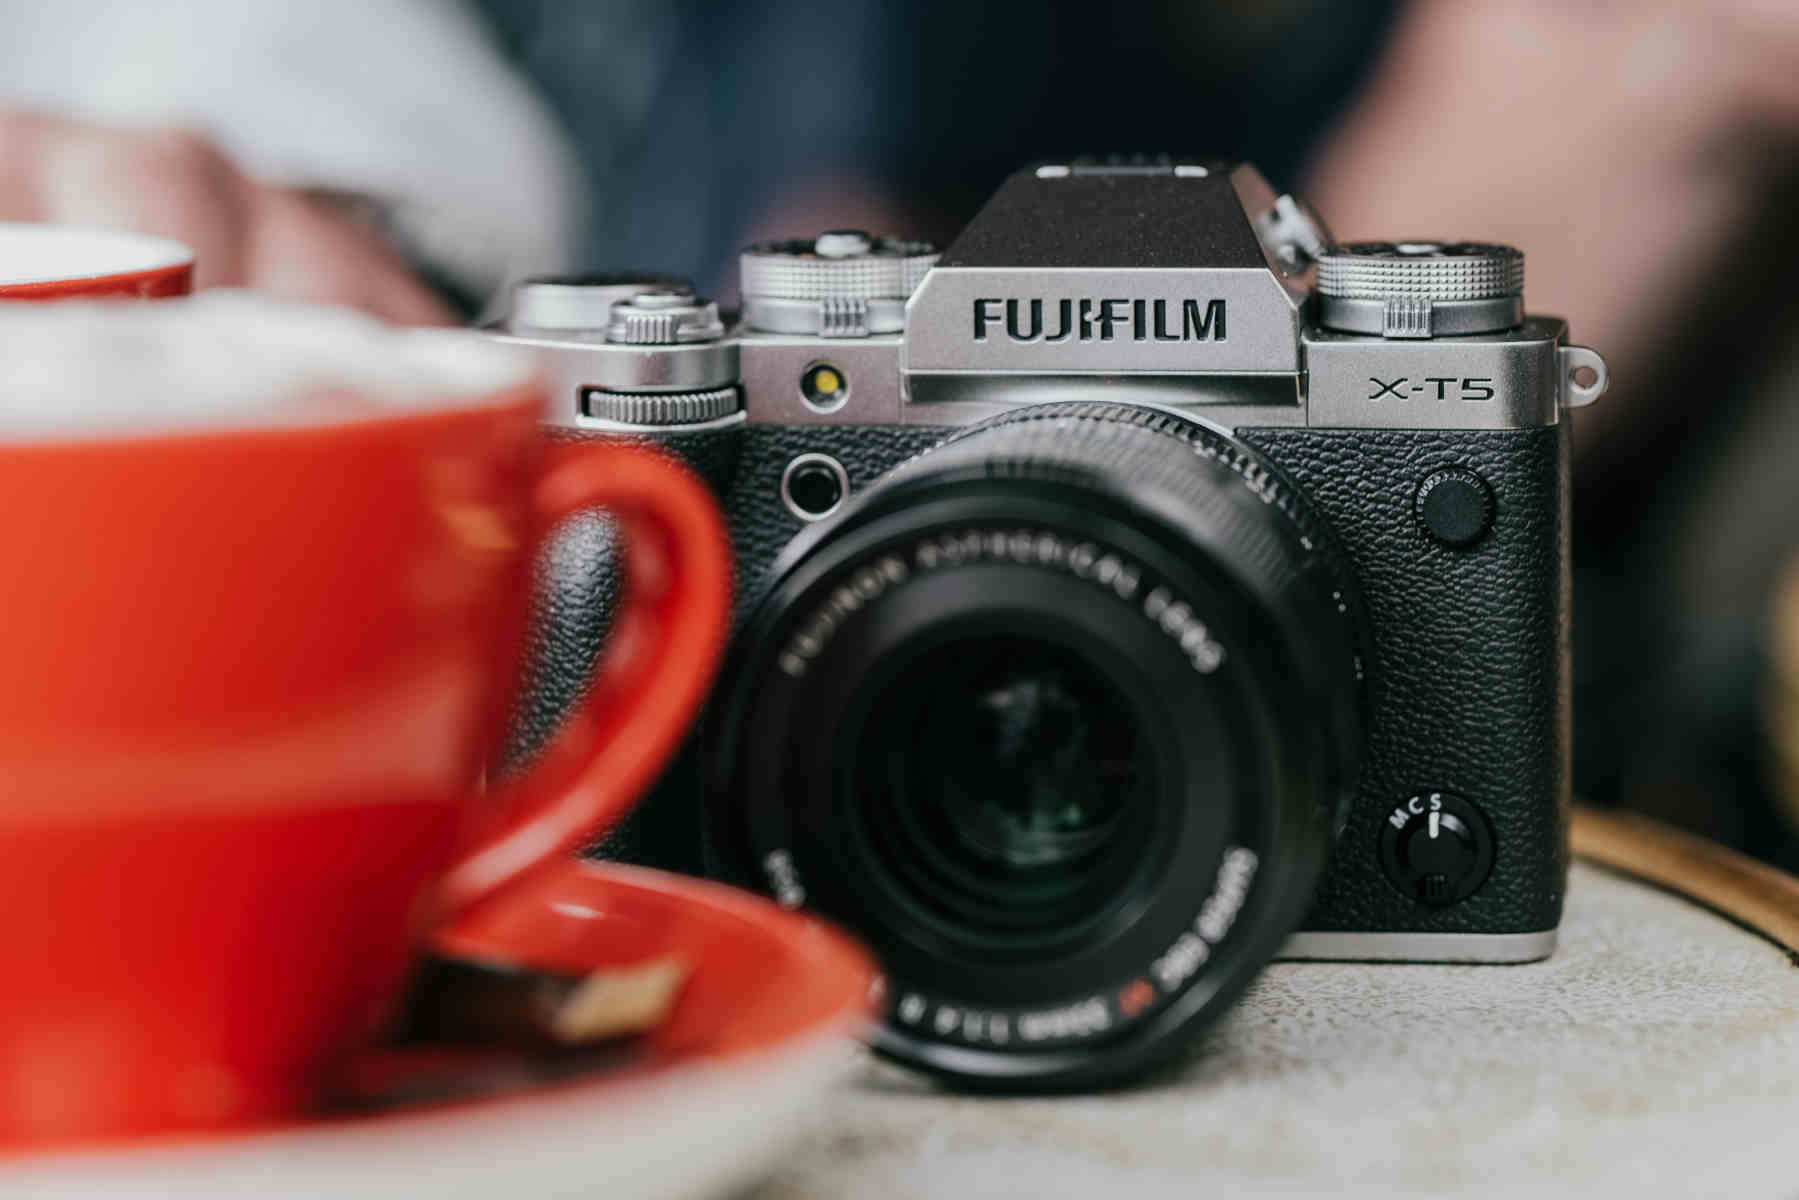
With a heavy focus on creative photography, the best Fujifilm cameras really lean into the Multi-exposure technique. While they feature similar blend modes to other brands, the terminology varies slightly. It’s therefore a good idea to compare modes to ensure you select the right one in any given subject-specific condition. Both Additive and Average modes are the same, but the following need a little decoding:
COMPARATIVE LIGHT - this is largely the same as Lighten or Bright mode on Nikon and Canon cameras, making bright pixels stand out against darker backgrounds.
COMPARATIVE DARK - the equivalent mode to Darken or Dark modes from other camera manufacturers. This will essentially fill bright areas with the underlying darker textures.
If you are using a Fujifilm model that has tactile controls, such as the X-T5 or X-T30 III, make sure you control your exposure by using the manual shutter speed dial, rather than by altering the f-stop from a lens-based aperture ring. This will essentially apply exposure compensation, which is critical when using Additive mode. However, this method will also ensure your depth-of-field doesn’t change between frames.
I also recommend checking out @bewaremyfuji on Instagram, who is a master of this technique — some of his multi-exposure nightscapes are particularly dynamic.
What should you shoot?
Put simply, anything with a clear outline can make a great multi-exposure shot. That’s because there is a sharp outline between the light and dark areas, which makes it easier to see where the pixels from one frame have blended with those from the next. It’s for this reason that skylines and profile portraits are popular subjects for this type of imagery. Creating a silhouette of buildings or the outline of a person makes a defined shape within which you can overlay the detail from another scene.
Equally, base layers with lots of texture or brightly colored patterns are ideal for creating those painterly style impressionistic images mentioned earlier. I like to bring together elements that look like they belong together, where natural subjects appear in the frame, but for urban images, I enjoy playing with heavy contrasts. Think natural structures like leaves, combined with industrial ironwork or brick walls.
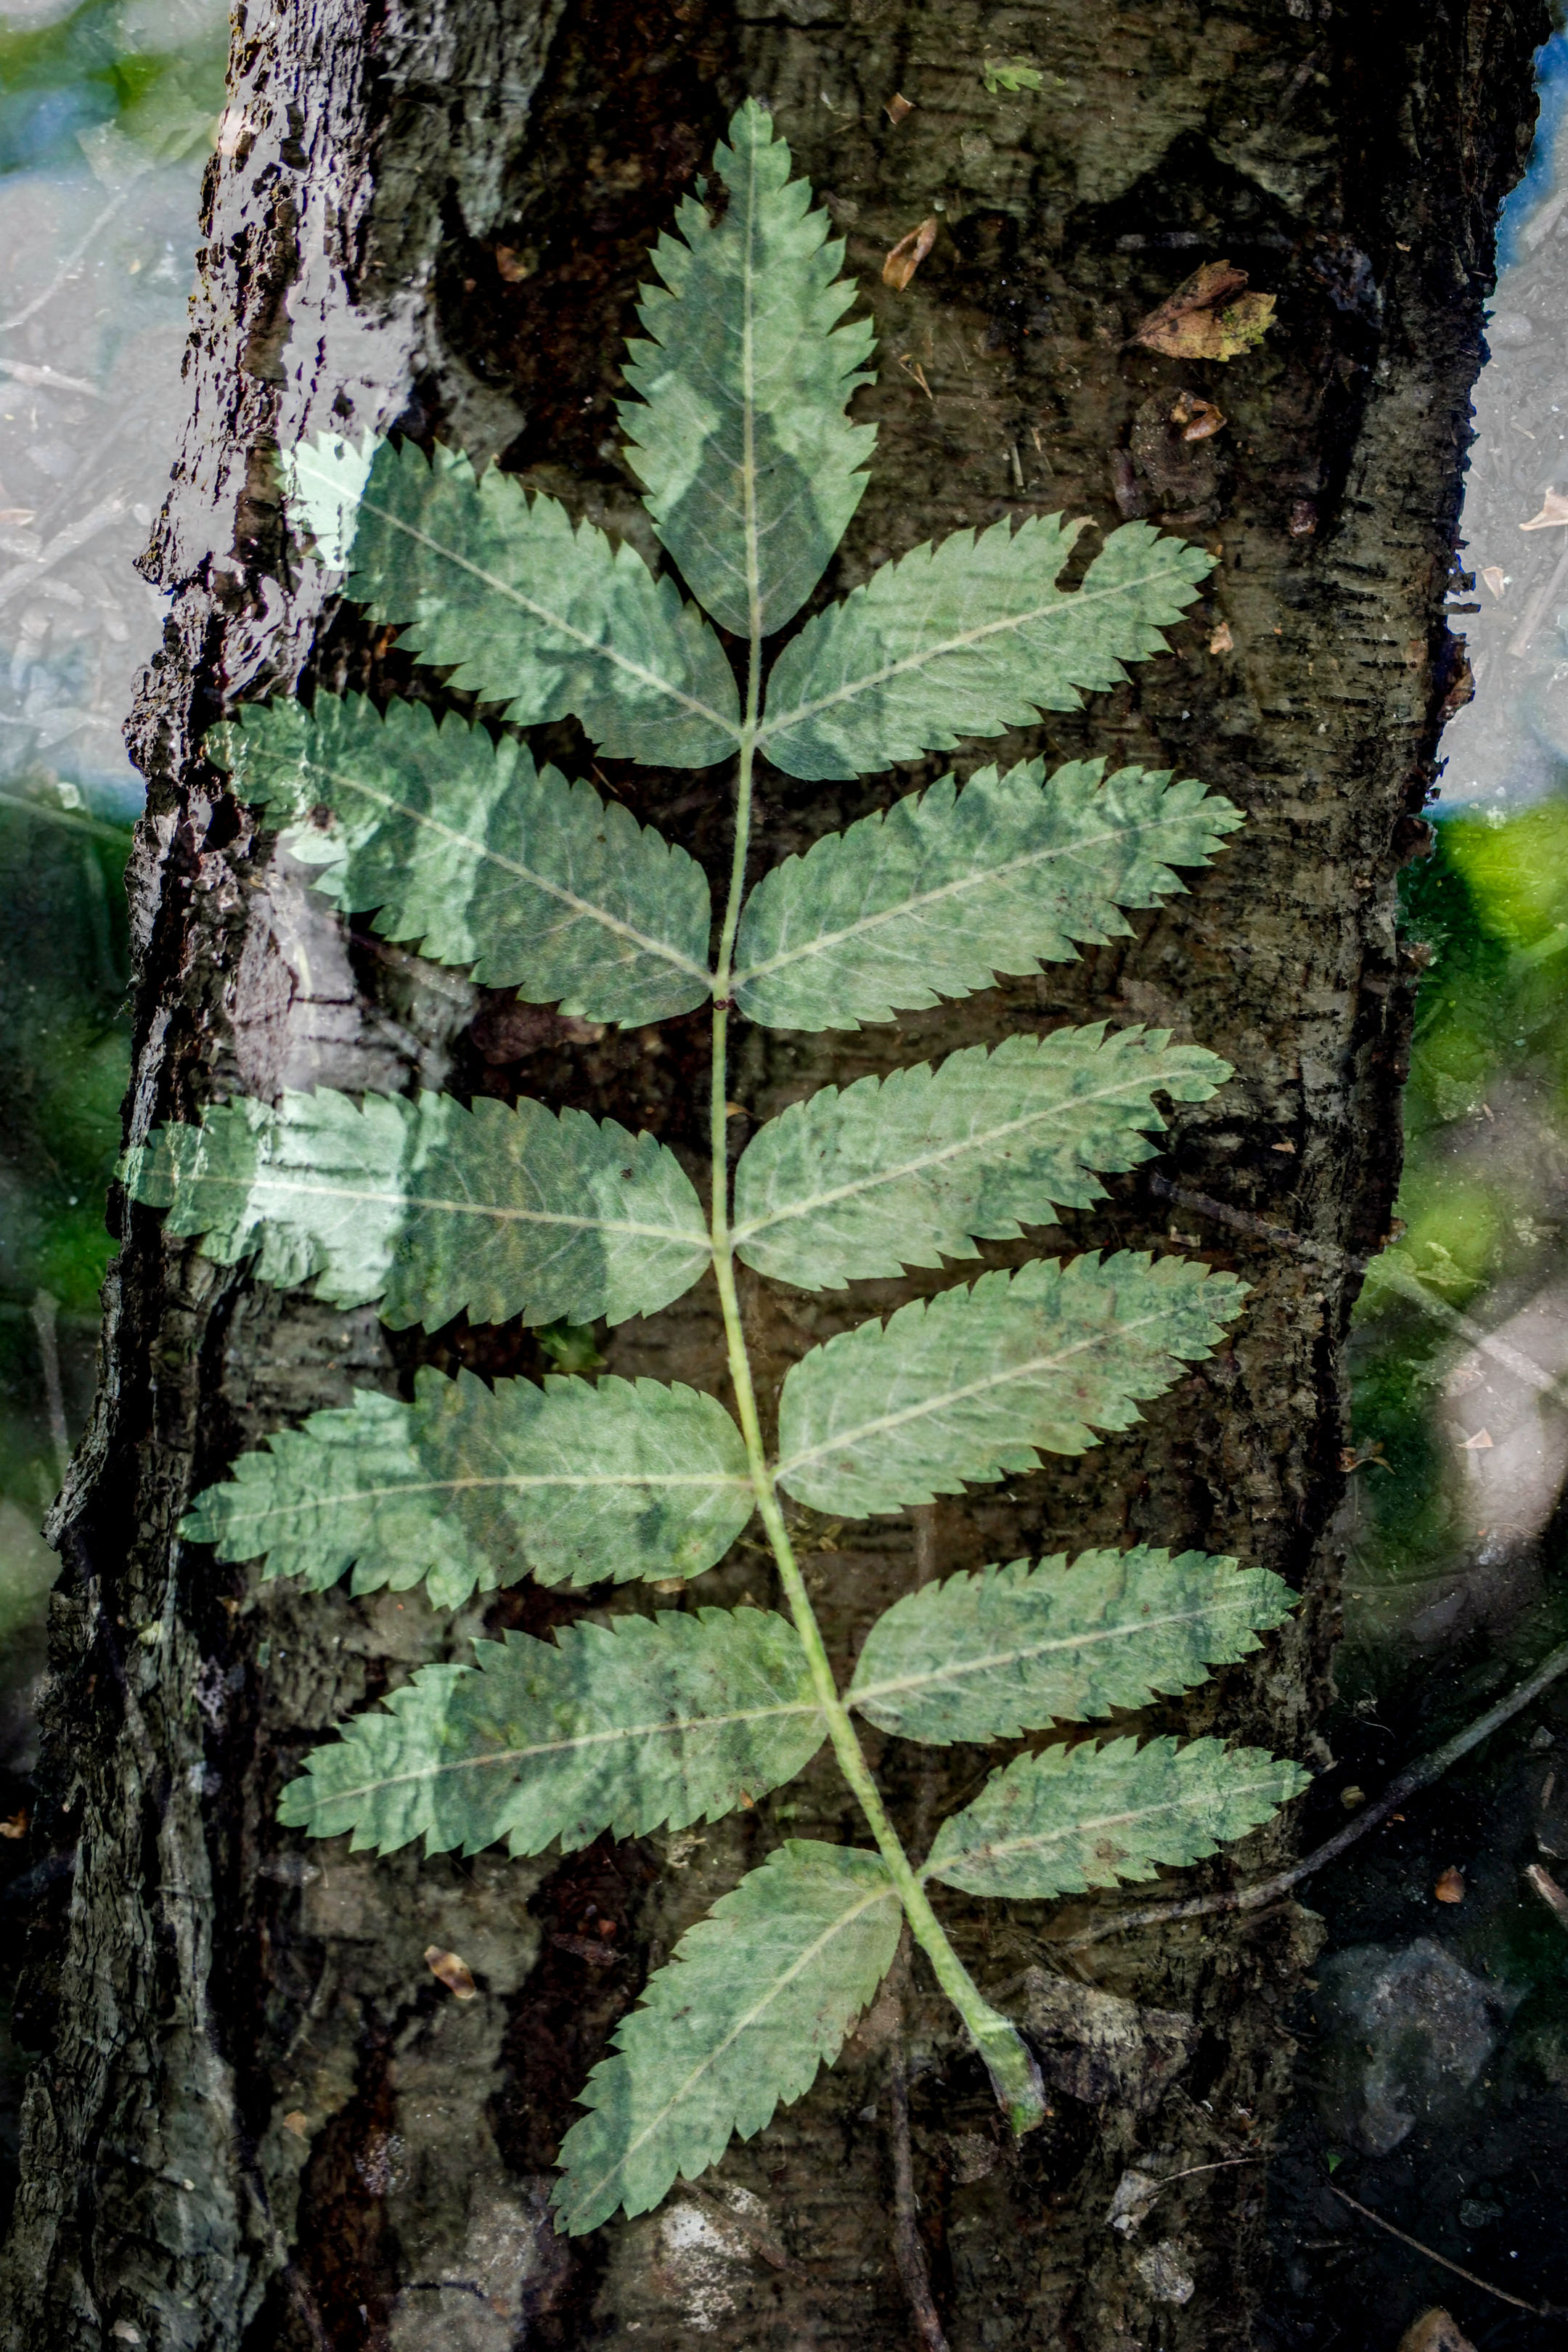
If the baseline detail is already quite chaotic, such as in an image of a forest, I’ll often select Additive or Average mode to create more of an overlap, leaning into the ‘messy’ state of the natural environment. For shots of cities though, I try to create sharp silhouettes where the shapes have minimal overlap, thereby crafting clearly defined zones within the composition.
Combining multiple exposures with other creative techniques, like intentional camera movement ('ICM'), can also introduce some excellent effects.
Double or multi-exposure?
Once you’ve decided to experiment with these techniques, it raises further questions: what is the difference between multiple- and double-exposures, and when should each one be used?
Double-exposure mode is the classic choice and will simplify your workflow. It’s the mode to choose while you are learning how each blend option works and are just starting out with this technique. For standard urban photography or abstract landscapes, capturing just two frames is often enough, and I’d advise you to only consider shooting more frames once you fully understand how each frame is going to impact the others.
Multiple-exposure sequences, in other words combining three or more frames, can be great for complex textures or when you want to convey the movement of a subject in motion. Capturing the subject in multiple positions in the same frame – an athlete or dancer in several positions, for example – can produce a stroboscopic look that follows a perfectly timed sequence of planned movements. This is best done from a tripod to keep the camera stationary.
This is a preview from the original publisher. Continue reading at the source:
Read Full Article on techradar.com →